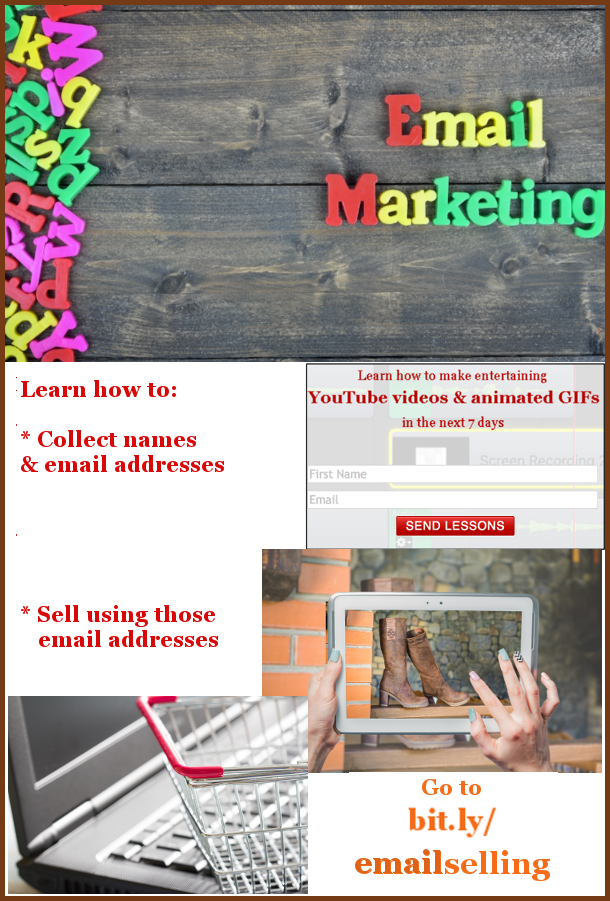
Marketing Email on Day 1
 On the first day, the AWeber autoresponder sends the potential 7 Day YouTube customers this marketing email.
Hello ___,
Welcome to your first lesson in YouTube video creation.
You can find your first lesson by going to a password-protected page at bit.ly/lesson1youtube. Use this password: _____.
By the time you are finished this lesson, you will be able to make a video similar to the animated GIF at the top of this email.
One of my rules of thumb for making YouTube videos is to never allow more than two seconds to pass without some noticeable movement on the screen. Today you will be using presentation software such as Keynote for making appropriate, interesting movement for both still images and text.
The concept of aspect ratio may not be obvious enough from Lesson 1. That refers to the width-height ratio of the video. You want it to be the same ratio as a typical YouTube video. Otherwise you will have black bars on either side of the video.
To get the correct aspect ratio, you should drag the Keynote right edge to 44 pixels and the bottom edge to -22 pixels.
Do not neglect to do the homework at the end of each lesson. Grade it yourself. It will be an indicator of whether or not you are ready to go on to the next lesson.
Make sure you make yourself a Pages file with all of the new things you are learning from these 7 lessons. Have an index at the top with links to each new concept.
If you absolutely cannot figure out something for yourself, go to any lesson page and click on the Contact Us button in the horizontal menu. To make sure your email does not get deleted, use this for your subject line “Just cannot figure out ___”. Fill in the blank with one or two words that describe your problem.
Yours truly,
Day 2

Hello ____,
Have you successfully finished your homework from Lesson 1? If so, you are ready to go to Lesson 2.
Go to bit.ly/youtubel2. Use this password: ____.
Sometimes when you make a video, you want to call your visitors’ attention to a particular part of the screen. To do that you will use the Callout feature you see in the animated GIF at the top of this email.
In this lesson you will also learn where to find free music, sound effects and pictures.
The best way to learn many things in this course is to experiment and practice lots. Start by experimenting and practicing with Keynote effects. You will find all sorts of interesting ways of creating movement within your images and text.
Do your Lesson #2 homework. In this lesson you will actually upload your homework video to YouTube.
If you absolutely cannot figure out something for yourself, email us at admin@waystomakemoney.site. To make sure your email does not get deleted, use this for your subject line “Absolutely cannot figure out ___”. Fill in the blank with your problem area.
Yours truly,
Day 3

Hello ____,
Have you successfully finished your homework from Lesson 2? If so, you are ready to go to Lesson 3.
You will find lesson 3 on this web page: bit.ly/youtubelesson3. The password is ____.
In lesson 3 you will learn how to make MP4 files. An MP4 file is a media-containing file that will hold video, audio, text and images.
Then you will take a still image and create an invisible space within it. You will have that MP4 file playing within that invisible space.
If you absolutely cannot figure out something for yourself, email us at admin@waystomakemoney.site. To make sure your email does not get deleted, use this for your subject line “Absolutely cannot figure out ___”. Fill in the blank with your problem area.
Yours truly,
Day 4

Hello ____,
Have you successfully finished your homework from Lesson 3? If so, you are ready to go to Lesson 4.
In lesson 4 you will learn how to turn your smartphone videos into entertaining YouTube videos.
You can access lesson 4 by going to bit.ly/youtubelesson4. The password is lessons4-7.
Suppose you are making smartphone videos of your various family members. You will learn how to make your own YouTube channel named Family. Nothing but your family videos will go there.
Then, whenever you make a special smartphone video about a family member, you can upload it to your Family channnel for all of your family to see.
You will even learn how to give each video a descriptive URL name so that it will be easier for your family members to remember them. For instance, if you want to show your family a video about Susan’s new baby, you can send them to bit.ly/susansnewbaby.
If you absolutely cannot figure out something for yourself, email us at admin@waystomakemoney.site. To make sure your email does not get deleted, use this for your subject line “Absolutely cannot figure out ___”. Fill in the blank with your problem area.
Yours truly,
Day 5

Hello ____,
Have you successfully finished your homework from Lesson 4? If so, you are ready to go to Lesson 5.
In lesson 5 you will learn how to add interesting backgrounds to your subjects by using a green screen. For the purpose of this course, a green screen can be as simple as a piece of green bristol board.
In your ScreenFlow timeline, the top layer will be your subject in front of a green screen. In the second layer you will have your interesting background.
Then you will use ScreenFlow Chroma Key to electronically remove the green from the top layer. The background will show up behind the foreground subject.
You will find lesson 5 on this web page: bit.ly/youtubelesson5. The password is lessons4-7.
If you absolutely cannot figure out something for yourself, email us at admin@waystomakemoney.site. To make sure your email does not get deleted, use this for your subject line “Absolutely cannot figure out ___”. Fill in the blank with your problem area.
Yours truly,
Day 6

Hello ____,
Have you successfully finished your homework from Lesson 5? If so, you are ready to go to Lesson 6.
In lesson 6 you will learn 7 different things that people do to make money from their YouTube videos. Up to now you may have been thinking about only one way — Google AdSense advertising. That really is not worth your while until you have a video that is having over 1000 views per day.
One way you will learn about is called “unboxing”. This is where people make a series of related videos devoted to discussing a product line’s parts and features.
For instance, in 2014 someone made $4.7 million by opening Disney toy packages.
You will find lesson 6 on this web page: bit.ly/youtubelesson6. The password is lessons4-7.
If you absolutely cannot figure out something for yourself, email us at admin@waystomakemoney.site. To make sure your email does not get deleted, use this for your subject line “Absolutely cannot figure out ___”. Fill in the blank with your problem area.
Yours truly,
Day 7

Hello ____,
Have you successfully finished your homework from Lesson 6? If so, you are ready to go to Lesson 7.
You will find lesson 7 on this web page: bit.ly/youtubelesson7. The password is lessons4-7.
In lesson 7 you will learn how to make your videos distinctively different from other people’s videos. People will recognize a video as being yours. This way you are more likely to develop a following.
Consider the idea of getting patrons from lesson 6. Having high quality recognizable videos will help you get patrons.
You will find lesson 7 on this web page: bit.ly/youtubelesson7. The password is lessons4-7.
If you absolutely cannot figure out something for yourself, email us at admin@waystomakemoney.site. To make sure your email does not get deleted, use this for your subject line “Absolutely cannot figure out ___”. Fill in the blank with your problem area.
Yours truly,
Sales process completed?
The 7 Day YouTube course was billed as a free course. I make money by the ScreenFlow programs people will buy to complete the course.
However, in order to be true to my promise of “free”, I told them they could use a free trial version of ScreenFlow. There will be a watermark on each video they create.
So, after the seventh marketing email is sent, the sales process still may not be complete. However, if they really like the product, they will buy as soon as they can afford it.

 Peter Enns has been developing websites since 1996. He is a VA (virtual assistant), social media blogger and author of a free YouTube tutorial. It’s called 7 Day YouTube and will teach you how to make entertaining videos & animated GIFs.

 Virtual assistant (VA)
 Set up a brand new WordPress website.
 The previous blog post told you how to add your picture & name to EVERY post & page on the website. However, what if your blog has guest posts? You will want your guest’s name & photo on his post. If you are the WordPress author, you will want your name & photo on your posts.
 There is a free WordPress plugin called Ad Inserter. You can use it to insert display ads within a document or in the right-hand column.
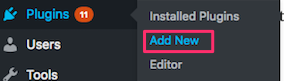 Go to WordPress Plugins menu, click Add New button
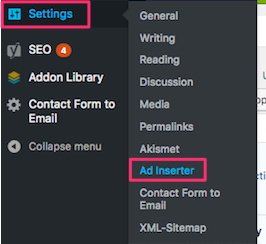 After activation, click “Settings / Ad Inserter” to access the settings page
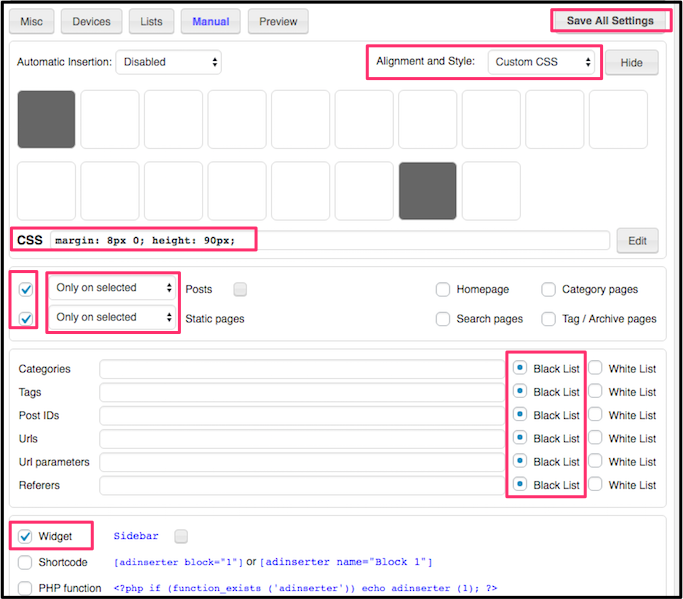 Check lists on left. Use the dropdown boxes to change each one to Only on selected.
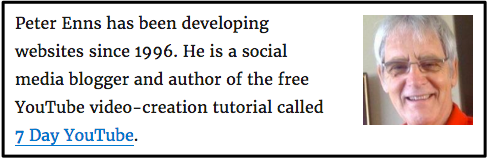


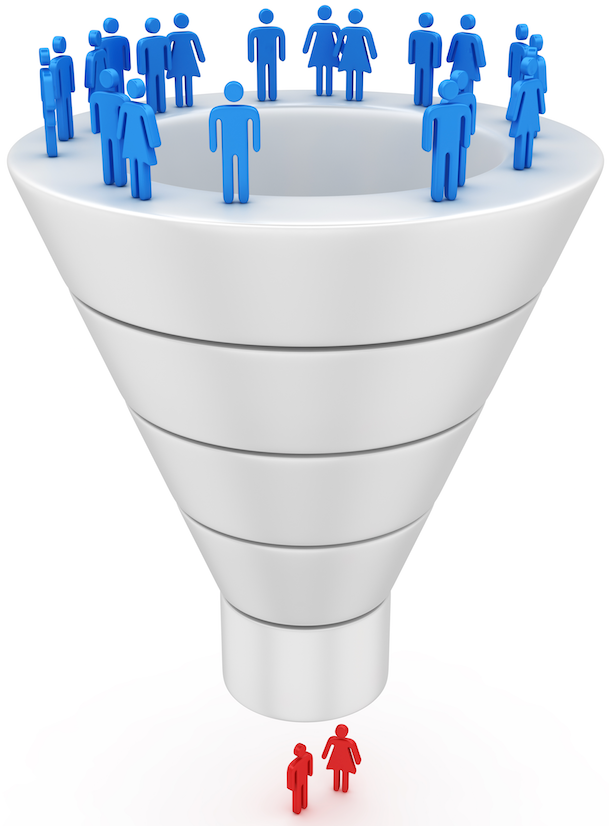 A sales funnel (aka marketing funnel) is the process by which a stranger becomes a customer.
 Make online searches in your niche. When you come across blogs you like, pitch your free guest blog idea to them. If you are an authority, they may just let your write a blog. At the end you will have a paragraph about yourself with a link to your landing page.
 Add amazing photos & short videos on
  Giving people information that helps people solve one of their problems. Make sure the content relates to your landing page. Have a link to your landing page.
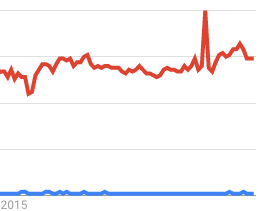 For instance, the chart here is comparing two search term uses over the past several years. The red line is SEO. The blue line is Search Engine Optimization. The highest point in the red line represents 100% of the searches for SEO throughout the world. Every other point on the two graphs represents the number of searches compared to that highest point for SEO.
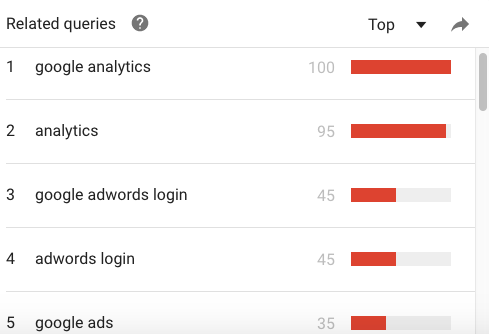 Search by most popular related queries
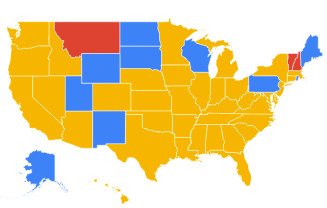 Can compare various terms in subregions of a country
 Go to
Go to  Author & speaker,
 Open your
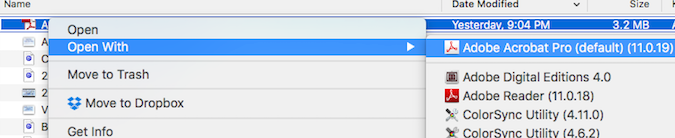
 Scroll down to the slide from which you wish to link. (Note that you can’t start linking until the fourth slide.)
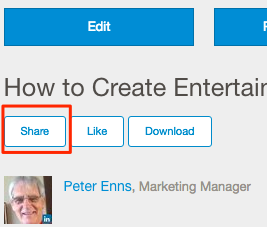 While in the SlideShare preview mode, click on the Share button
 Pinterest
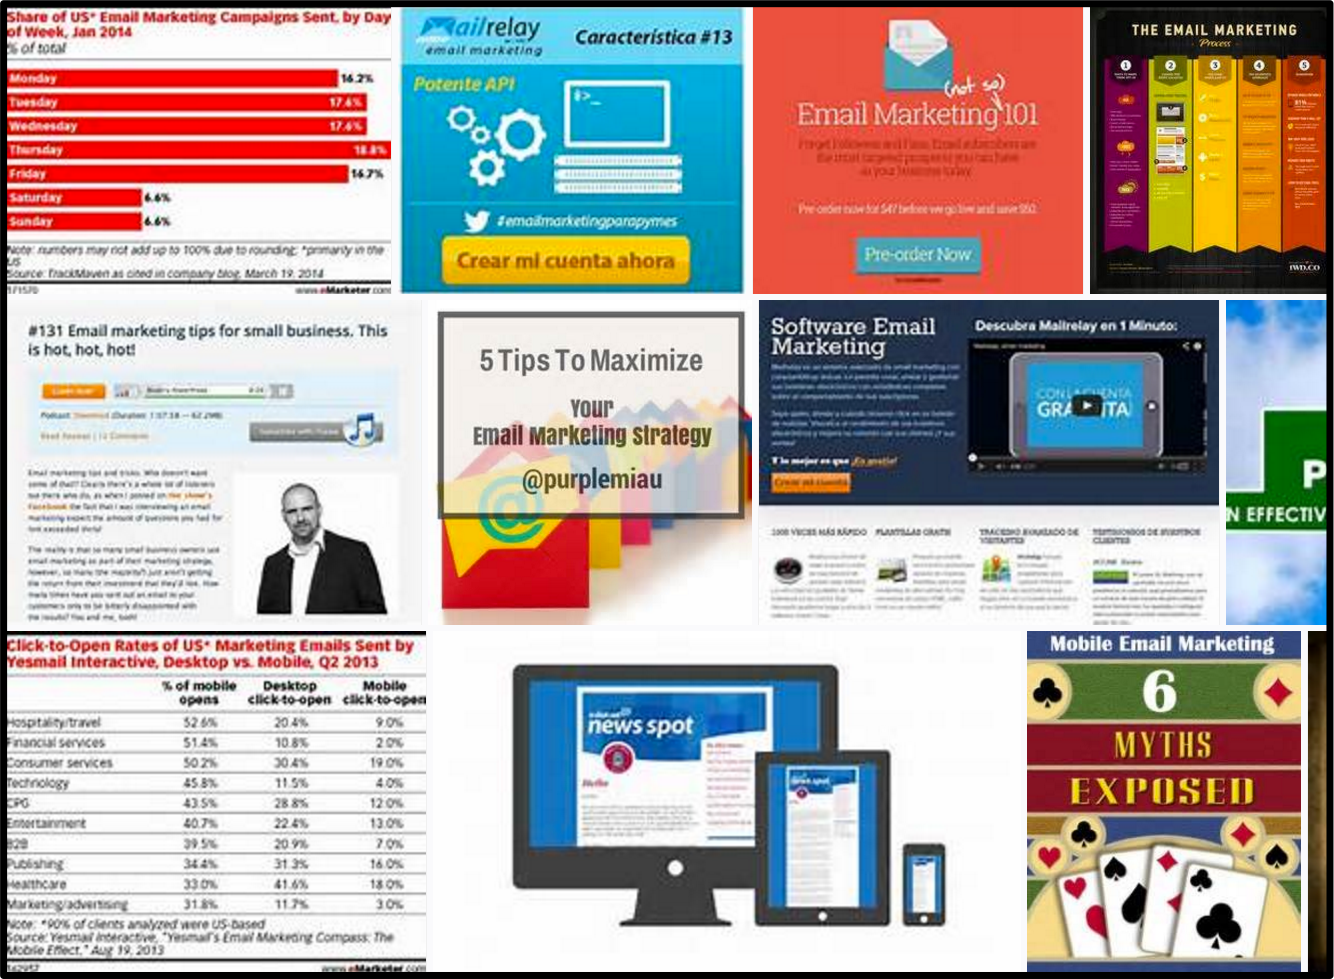 I performed a web search for “pinterest pins email marketing”. The picture on the right shows what I found.