This post has moved here.
Web Design Resources


In a nutshell, this post will tell you how to make a brand new WordPress website. In this example it will have:
* A home page
* A contact us page with a Google Map
* Local optimization to put you on Google’s page 1
* Two business email addresses that link to your regular address. E.g., Sales@myamazingwebsite.com & Info@myamazingwebsite.com
* An About Us page.
What if you start reading this over and you don’t want to do it yourself? Well, go to Kelowna Virtual Assistant and find out how we can do it for you.
Since I started creating websites in 1996, I’ve used many different web hosts. My very favourite one has been LiquidNet Ltd Hosting. They have amazing tech support and have been able to help me with practically any problem I’ve had. Besides that, they make it easy to set up a WordPress website.
You probably need no more than the starter package. It is only $35 (USD) per year.
Choose domain name that helps brand your business. For instance, IBM has ibm.com, Kelowna Virtual Assistant has kelownavirtualassistant.com and CNN has cnn.com.
This post will help you decide upon the ideal domain name for your business.
My very favourite place for buying & registering domain names is WhoIs.com. Go there as soon as you have decided upon your domain name. Click on Login to create an account.
You will have to change the DNS settings to supremedns1 & supermedns2. Go here now to find out how to do that.
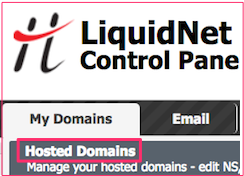 Before setting up WordPress, go to My Domains > Hosted Domains. Click the white on black Host Domain button. Add your new domain name to the Domain box. Click Add a Host.
Go to this blog post to see how to add WordPress to a LiquidNet Ltd Hosting website.
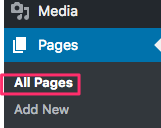 If you followed the instructions in the previous paragraph, you should have a home page. To edit it, click on edit from ANY page in your new website. On the left-hand side, you will see a black column called the Dashboard. Click on Pages > All Pages.
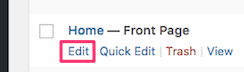 If you scan through the pages, you will see one called Home. Click the Edit link to make changes.
It is important that the Home page be attractive and informative. That is often where visitors go to find more information about your business.
WordPress plugins are bits of software that can be uploaded to make WordPress more powerful. After you have finished your initial WordPress website, you really should click on that link and then learn about the most important plugins. Make sure you have them.
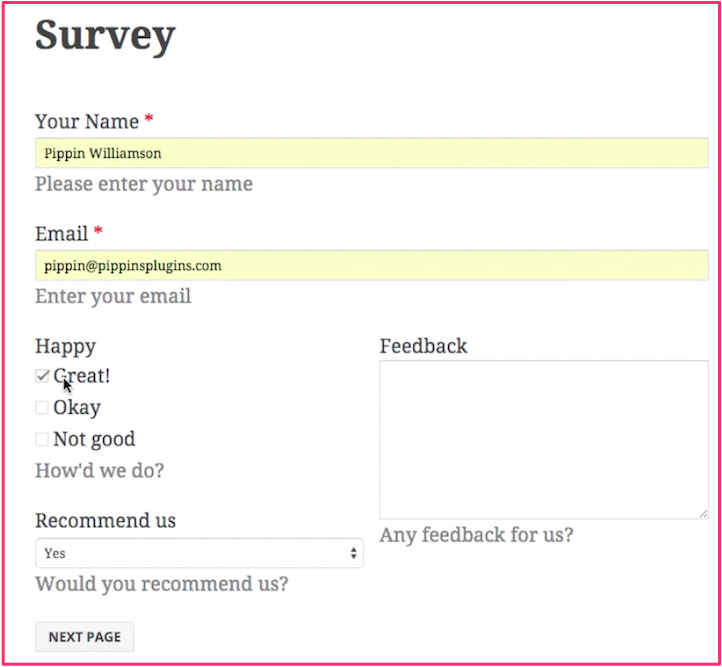
 Of all the WordPress Contact Us forms I’ve ever used, Caldera Forms is my favourite plugin. Using the instructions from the above paragraph, go to the Plugins link in your dashboard and install & activate Caldera Forms.
Then go to Pages > Add New and add a new page called Contact Us. Using these instructions, add a Contact Us form to that new page.
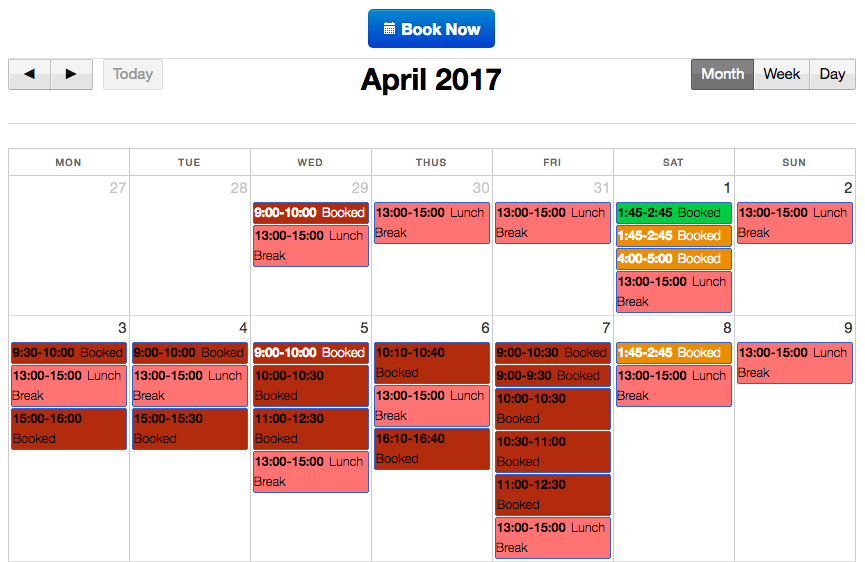
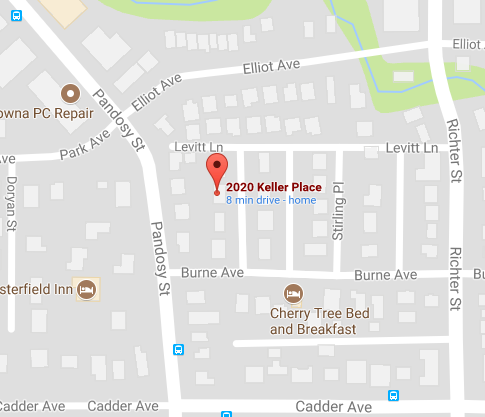 Go to this Google Maps page and add a Google map to your Contact Us page. Make sure there is a pin at the address of your business.
Local Listing means that you can often get on Google p.1 if you have a Google Map and set up Google My Business properly. Learn more on the Google My Business blog post.
You may want to have specialized email address similar to info@myamazingbusiness.com. Say you want to have it forward to your personal email address. Your business card can have info@myamazingbusiness.com. You do not have to have your personal email address on your business card. This is how to do it: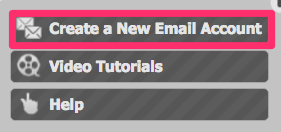
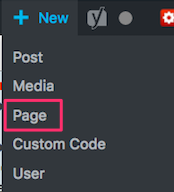 To add your About Us page, click on New just to the left of View Page. For New you have 5 choices. Select Page.
The rest should be intuitive. Make sure you give a little bit about your history and what you might do to give a benefit to the visitor. Include pictures that promote your business.
After going through this blog post, you may decided that you are not prepared to spend the time learning all of this. That’s reasonable. Simply go to Kelowna Virtual Assistant and find out how we can create your WordPress website for you.
 This post has moved here.
 So you want to have a website with a WordPress blog. This post explains your website setup from the very beginning to a working (very simple) website. Other posts in this blog will explain setting up
Note that you have to set up everything in the exact order you see here.
You want to start by registering a domain name that matches your business name. The domain registration blog post explains how to do that.
Part of the process of registering you domain name is linking it to your web host. This is called changing the DNS (domain name servers) information. The DNS blog post will show you how to do that.
Since I started creating websites in 1996, I’ve used many different web hosts. In terms of price, tech support and other features LiquidNet Ltd Hosting is by far my favourite host.
The instructions in this post assume you are using LiquidNet. If you are using a different host, you will have to adjust these instructions accordingly.
Log into your LiquidNet Hosting Control Panel. Go to My Domains > Hosted Domains. If you cannot figure out how to add your new domain, open up a new ticket with tech support and ask them.
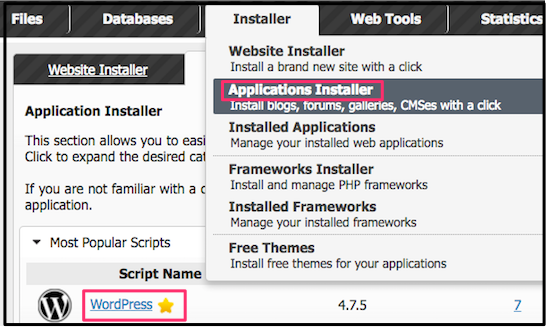
If you are using LiquidNet, go to Installer > Applications Installer and click on the Install icon in the WordPress line.
You will see a new panel called Install Application. Make sure every line is filled in properly:
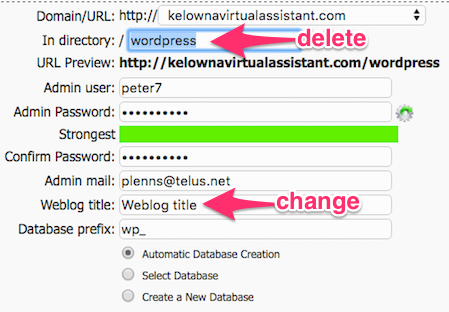 Select “weblog title” and change it to a name that describes your business.
When you click New in the top of a WordPress Post or Page, you will get a choice of Post or Page. A Post will be part of your blog. When you scroll down to the bottom of a Post on the Internet, you will see a Previous and a (usually) Next button. They will link to the corresponding blog posts.
Any other page you create will be a WordPress Page. E.g., Home, About Us and menus for the various blog categories will all be Pages.
As long as you performed all of the above steps in the exact order, your website setup should be finished. You should be all set to start creating WordPress pages & blog posts.
If you still have problems, use the search box or else the Blog menu to find the answers.
 I have been using Adobe Stock images for several years. I highly recommend them IF you can reasonably use 10 images per month.
They have tens of millions of images from which to choose. All you have to do is type in the correct keywords and you will find an image you like.

 I found that I was not using enough images. So, I started the process of cancelling my subscription. I got the above cancellation fee message.
They gave me to take the next 60 days at no charge if I would not cancel. So, that’s the option I took.

There are several reasons why you might want to use Adobe Stock images:
 you have their attention, they are more likely to read the rest of the article.
 pertinent images in your videos & animated GIFs makes people more likely to pay attention to them.
 Let’s say you are writing an article about a sales funnel. You want to grab the visitors’ attention from the very beginning. You also want the first lines to be short so that people would read them. Then you would draw them in so that they would read the rest of the article.
You remember seeing a picture like the one to the left. So, you would log into Adobe Stock and search for “sales funnel people”.
You would end up with over a hundred pictures from which to choose. You begin the process of 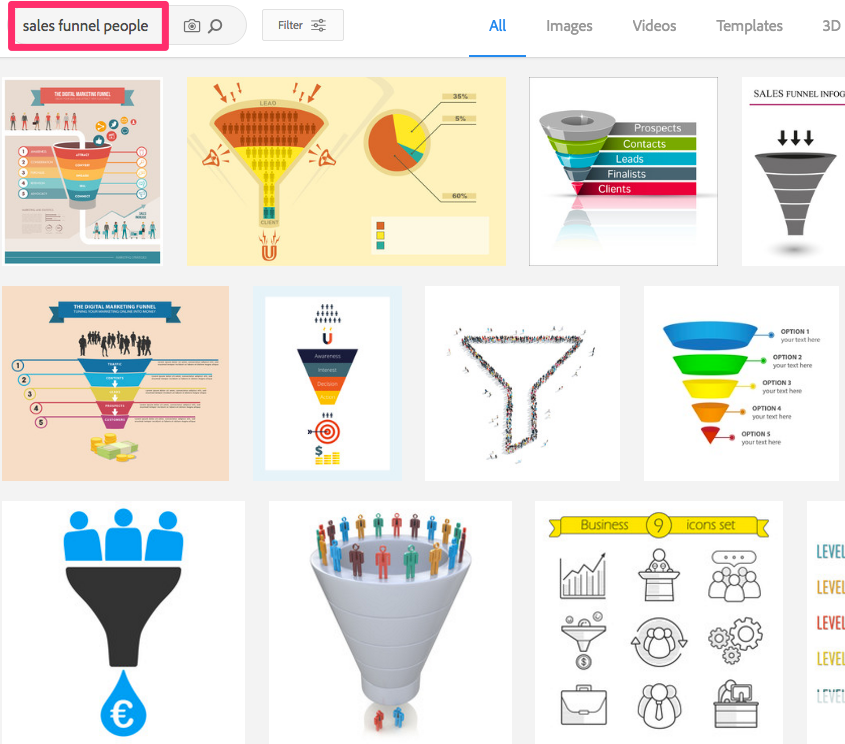 collecting around 10 or 20 possible pictures you might use.
So, you hover over the bottom of each picture that is a candidate. Click on the Save Preview to Computer icon. All of these watermarked images will be saved in your Downloads folder.
After you have sufficient watermarked sales funnels, you go into your Downloads folder and choose the best image. You write down its unique number. Then enter it into the Adobe Stock search engine.
Your favourite image will show up. You hover over the bottom and select the License & Save to Computer image. You go back into your Downloads folder. Give your new image without the watermark a descriptive name.
Thus Adobe Stock has helped you make a more attractive blog post.
 For people who use significantly fewer than 10 images a month, there are better alternatives such as Dreamstime. Instead of paying for 10 images up front, you buy points. Each image costs so many points. Left-over points can be used to pay for part of another image.
Dreamstime also has a number of free images. (They have over 58 million images altogether.) The free ones are often lower quality. However, I have used them in attractive animated GIFs more than once. To access their website, go to bit.ly/nocostimages.
If you go there now, you will see a Free Images tab at the top. Click on it and then enter keywords into the search box. Your free images will show up first. The higher quality images will show up next. You have to pay for images from that group.
 I’d like to point out the Stock Footage tab. That’s where you can get super high quality video clips to use as introductions to your YouTube videos. The animated GIF you see here represents how I introduce most videos on my Web Design YouTube channel.

 Peter Enns has been developing websites since 1996. As a VA (virtual assistant), he specializes in new website development, researching and writing blog posts and creating videos for YouTube and as animated GIFs. He is a social media blogger and author of a free YouTube tutorial. It’s called 7 Day YouTube and will teach you how to make entertaining videos & animated GIFs.
 You may feel like you want to keep your website current with the latest styles. This post discusses upgrading your website from an older WordPress theme to Twenty Seventeen.
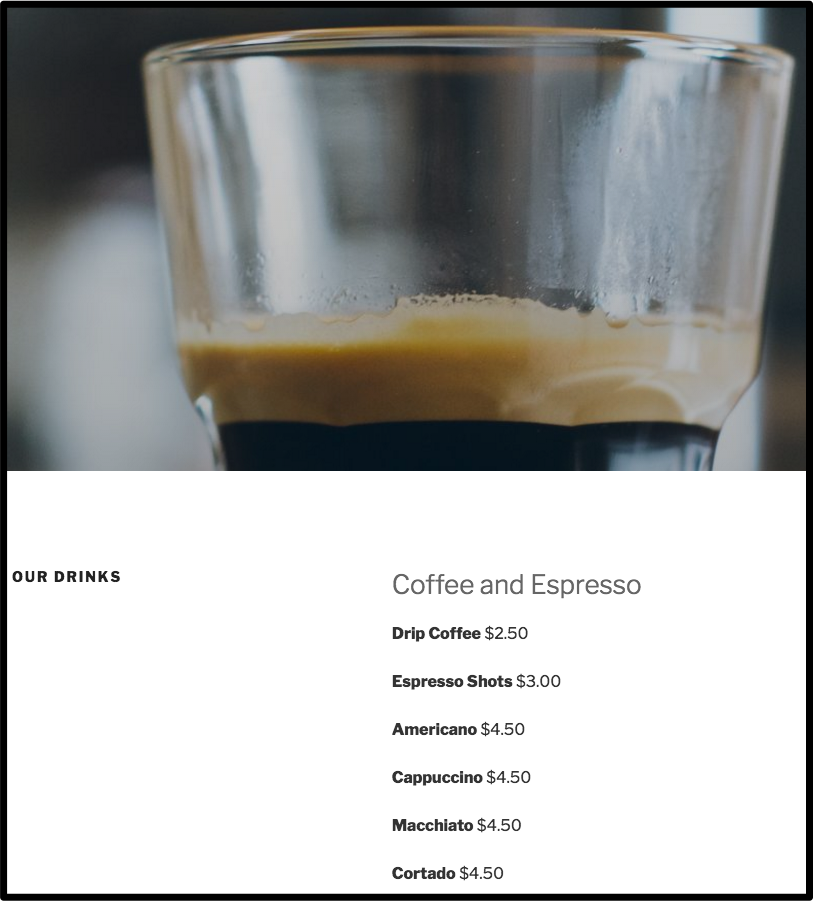
Twenty Seventeen is a highly specialized theme meant to have full-width beautiful pictures on EVERY page. It would be ideal for something like a restaurant in this example. However, websites for which a blog plays a major role probably should not use it.
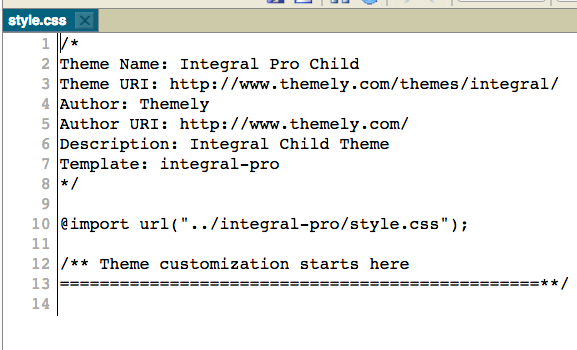
WordPress themes in general provide all of the front end styling of a WordPress site. Below is some of the front end styling that comes with the Twenty Seventeen theme. A discussion of most of the front end styling can be found here.
 Like the Twenty Sixteen theme, this one also has a customize link above the header image. It’s
 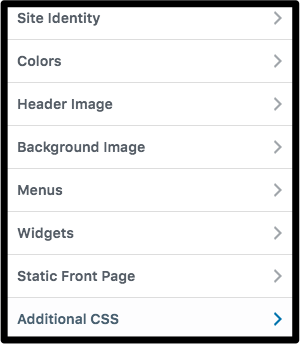 really useful for making quick changes.
You can even add CSS code without knowing anything about coding.
Twenty Seventeen is meant to be used with WordPress 4.7 or better. Before you even think about downloading Twenty Seventeen, upgrade your WordPress version to 4.7.
You may want to reduce the height of the header.
The instructions did not work for me. Because this may have been because of a bug in the software, I am including the instructions in this post. By the time you read this, the bug may have been fixed.
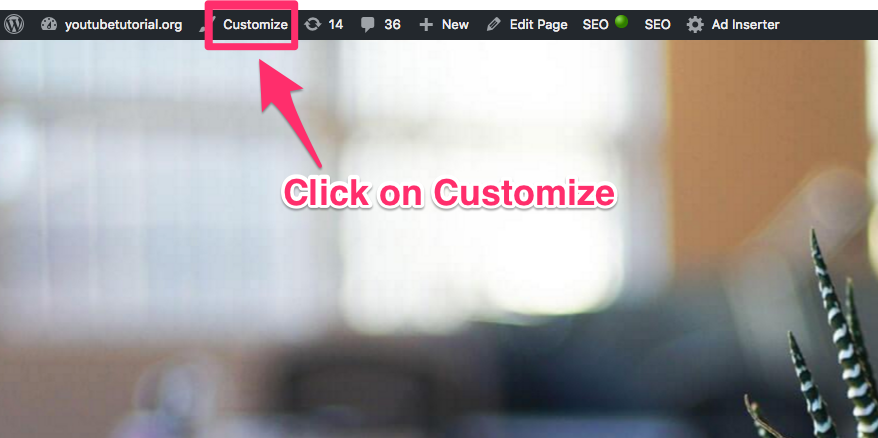 To reduce the header height, you must first remove the old header. On a page that has the Twenty Seventeen theme, go to the top and click Customize.
Then click on header media. Click on Hide Image.
![]() This is the narrow header I decided to insert.
This is the narrow header I decided to insert.
I like to have the header image inserted as a URL. So, I inserted this image in  an unimportant place. In this case it was the bottom of the index file, right under “Zooming and Panning”. I edited the Index page, went into text view and searched for “zooming and panning”.
Below that, between the quotation marks after “href” is the head URL. Use Cmd C to copy it into your clipboard.
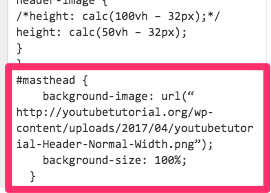 Click on the Customize link again. Click on Additional CSS. Scroll to the bottom of it and add this CSS code:
#masthead { background-image: url(“<insert url of your image>”); background-size: 100%; }
In conclusion, I would like to say that Twenty Seventeen definitely is not for everyone. That includes people with a significant blog.
However, perhaps you have a website in which you’d like to have a full-width photo on every page. The Twenty Seventeen is most likely the best way to go. You will be enhancing the user experience.
How to Customize this Free WordPress Theme
WordPress Custom Header Image banners
Peter Enns has been developing websites since 1996. As a VA (virtual assistant), he specializes in new website development, researching and writing blog posts and creating videos for YouTube and as animated GIFs. He is a social media blogger and author of the free YouTube video-creation tutorial called 7 Day YouTube.