3 characteristics of a video greeting card
 ♦ A video greeting card should have exactly ONE single message.
♦ The video has to express the message better than a paper greeting card could.
♦ It has to be personalized.
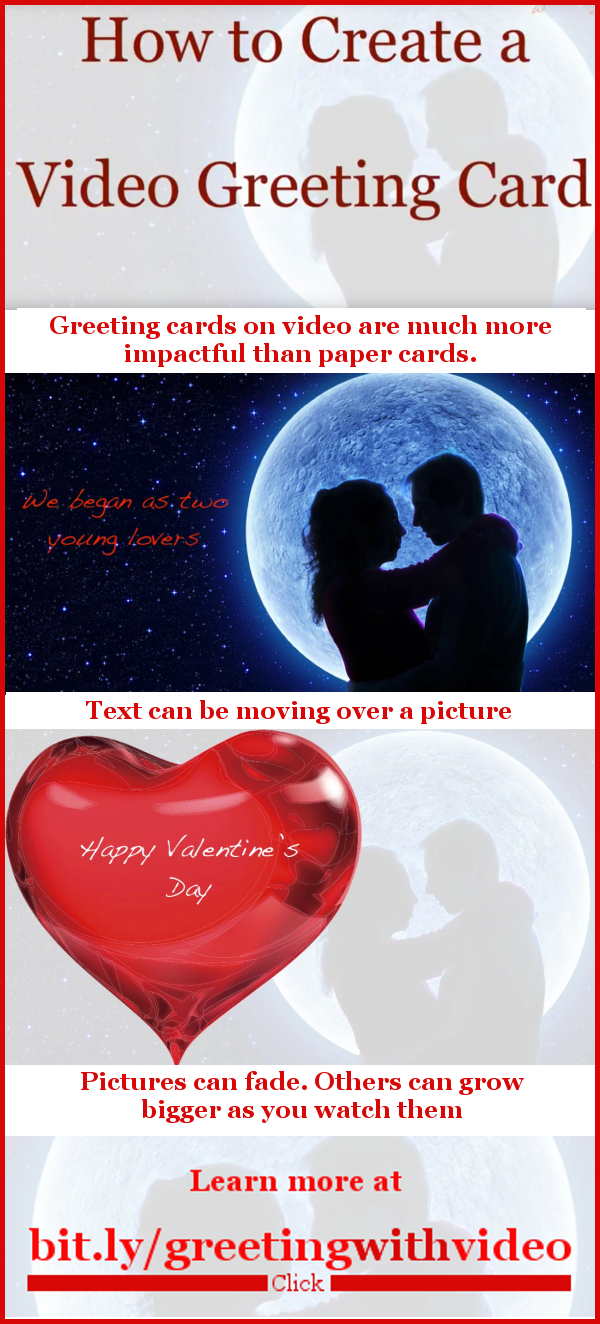
 Watch the video below about how to create a video greeting card. The one single message is that the man’s love for his wife keeps getting stronger.
 It was personalized by artistically displaying photos that were found in the wife’s Facebook albums.
To learn more much about creating entertaining videos including video greeting cards, check out the free YouTube tutorial, especially lesson 4.
Animated GIFs
Because of the way technology and society are changing, movement on your blog pages, etc. is more important than ever. Forbes Magazine says, “Brands that fail to incorporate visuals and videos will be left by the wayside.”
Read the text beside the growing heart above. If a picture is worth a thousand words, an animated GIF of a growing heart is worth more than a thousand words. The animation really helps people to remember a concept.
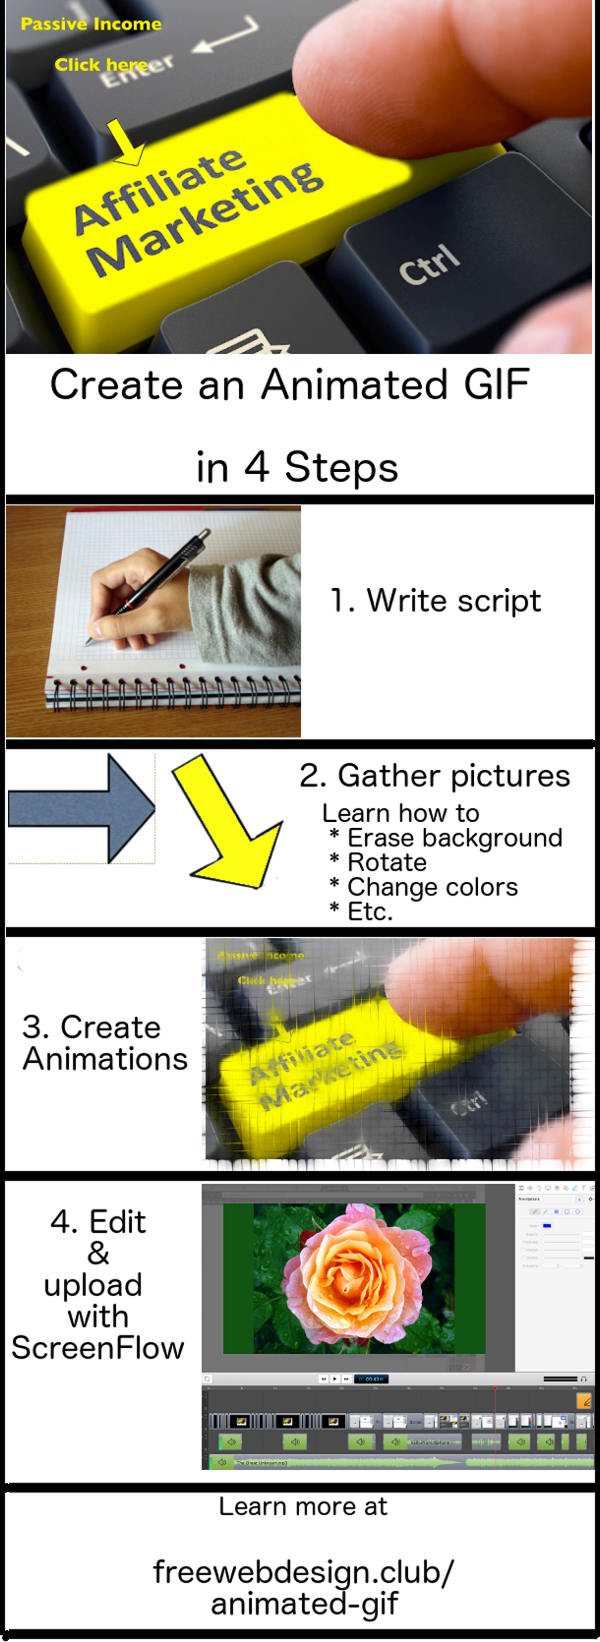
The free YouTube tutorial also shows you how to make animated GIFs.
This message on social media
In order to spread the message of this blog, I had 8 different social media referring to it. This is how I used 4 of those social media.
I wrote this article.
YouTube
SlideShare
 Peter Enns has been developing websites since 1996. He is a social media blogger and author of a free YouTube tutorial. It’s called 7 Day YouTube and will teach you how to make entertaining videos & animated GIFs.
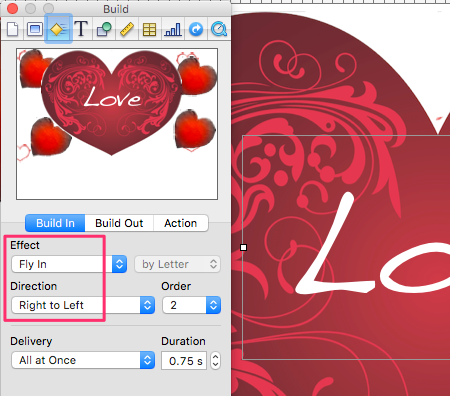
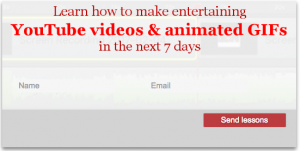 When you create a form for your email marketing, the platform you are using will add the name and email boxes. It will supply the submit button. You have to add the proper background image to make your form look good.
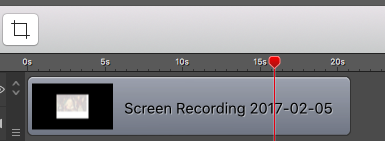
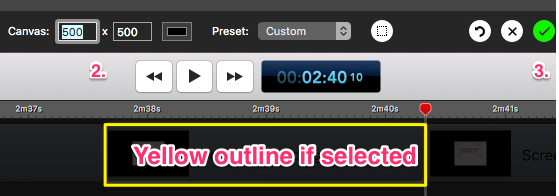
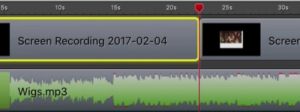 In this image, the second layer is the background music for the video. Other layers could be special effects such as text, arrows, etc. I selected a snippet of video to create a yellow border. That will add some extra interest to the background image.
 In order to have enough contrast between the text you will be adding and the background image, it is necessary to fade it. Use your image editing software to do that. This is how I faded the background using
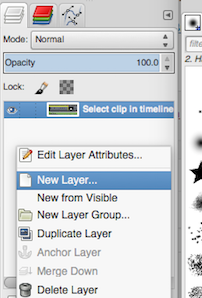
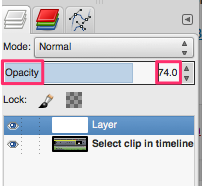 I selected the ScreenFlow timeline image in GIMP. I
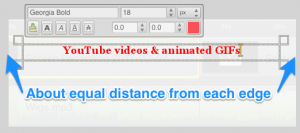 Click on the GIMP text icon,
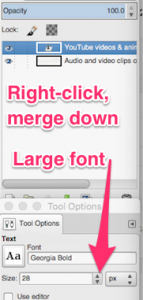 Click on font size dropdown to make as large as possible (28)
 suggest it would not work with the Twenty Sixteen WordPress them.
 Many people will leave a YouTube video before they get to the end of it. To get your main message across to those people, you can add scrolling text to the bottom of your video near the beginning. This post tells you how to create that scrolling text in 16 steps.
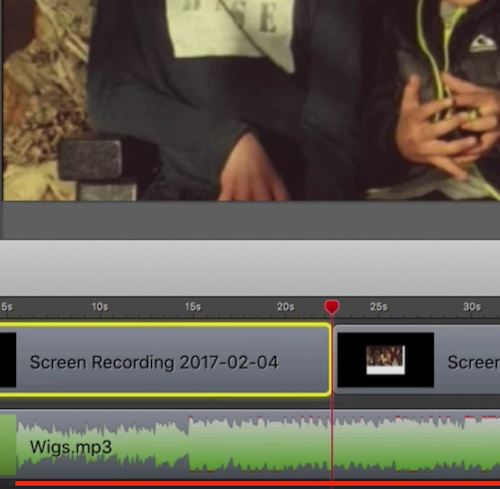 Look at the
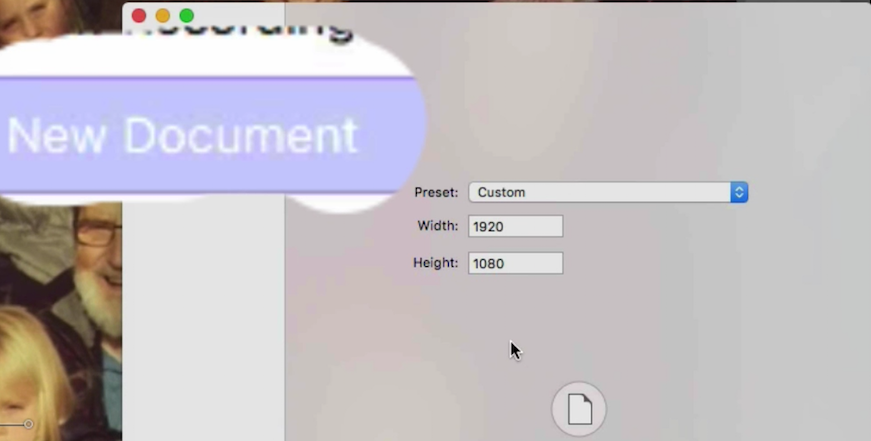
 Cmd V to paste clip from point #1 into your new document.
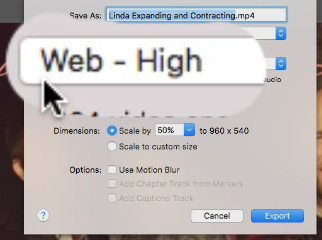 File > Export to create a new
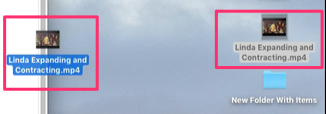
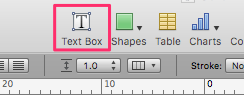 Click text box icon. Expand width of text box and type in text you want to scroll along bottom.
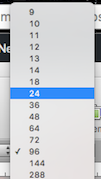
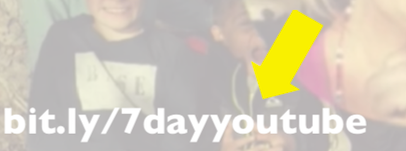 Change text to a colour that contrasts with the background. Even though the scrolling text is subtle, people still must be able to quickly read it.
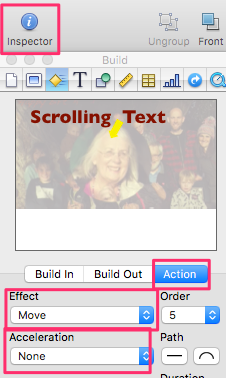
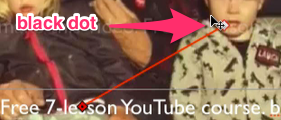 After applying Move action, a red line with a red diamond and a black dot inside will show up at either end on the text to be moved. Click and hold the right-hand red diamond. Move your cursor in a 180 degree arc so that that diamond is on the left-hand side.
 Drag the text to the right-hand edge to your ideal starting position. Drag the diamond on the left to the ending position.
 the green check mark icon.
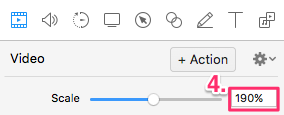 video to fit in the canvas. Experiment lots until it becomes second nature.
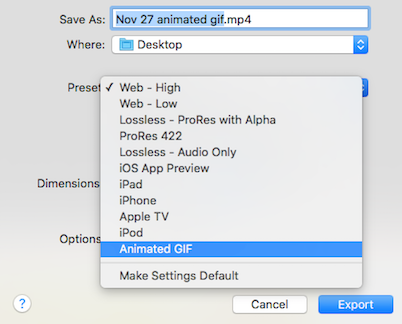
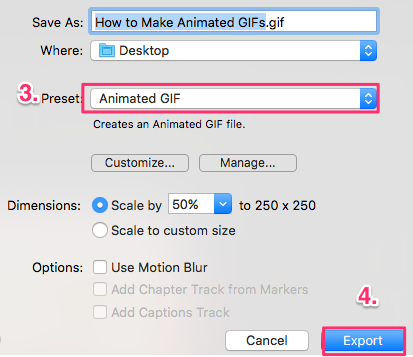 After clicking File > Export, look at the new panel that shows up. Using the dropdown arrow, select Animated GIF. Click the Export button.
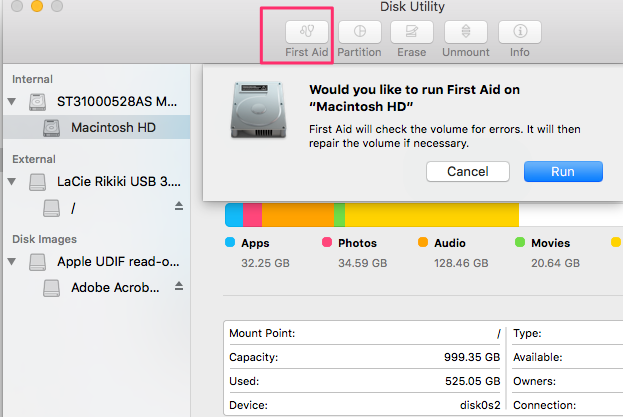 “Disk”, Enter into spotlight (magnifying glass in upper right-hand corner of screen)
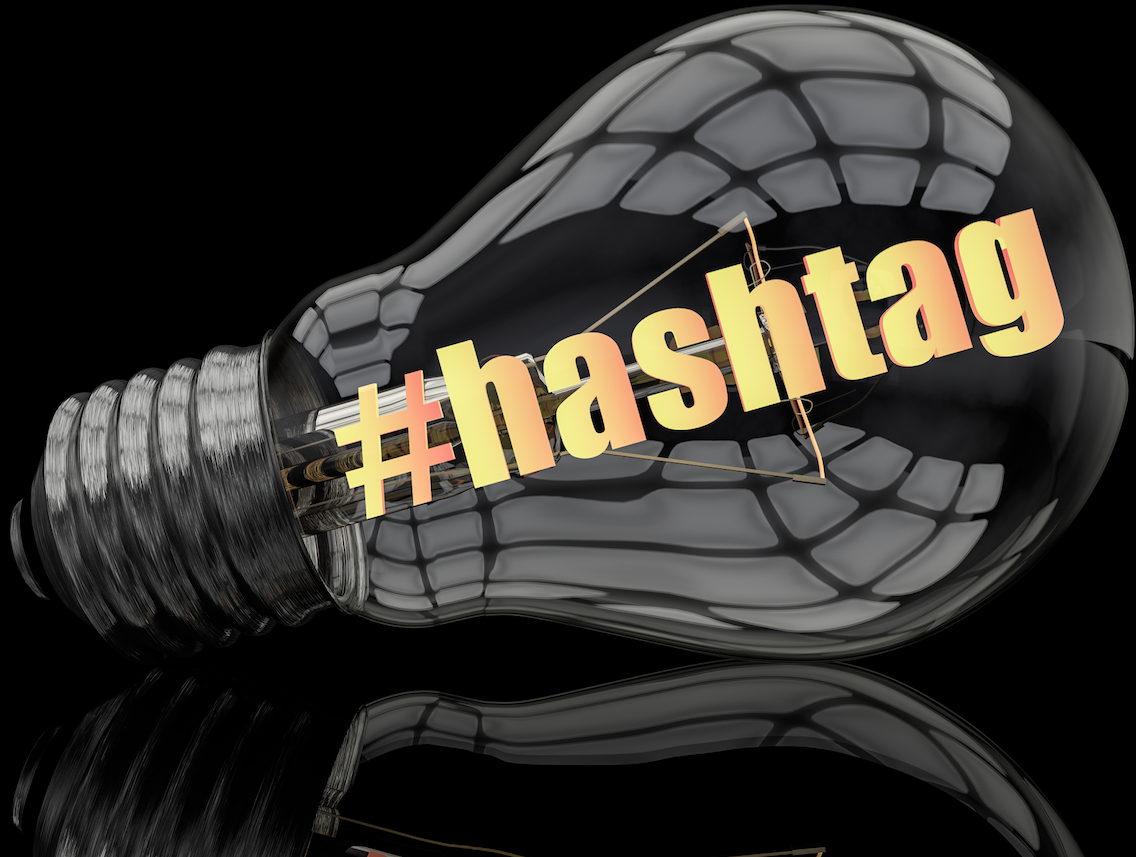 You have to use hashtags in order to be found on Instagram. For instance, if I wanted people to see this post, I would have an interesting picture about hashtags. Then, either in the post or in the comments I would use this hashtag: #InstagramHashtags. The post would have a link to this web page.
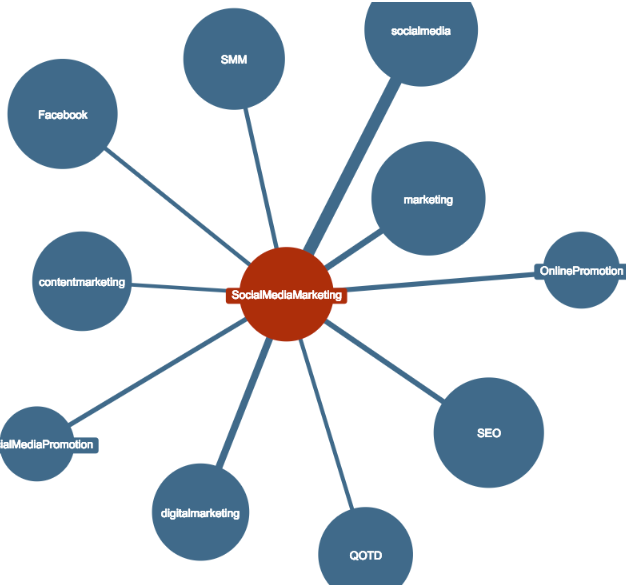 Use
Use  Show yourself
 Script writing must be an essential first part of creating your animated GIF. You might think that you can simply create the GIF in your head. Then make the video. After all, you want it to be only 10 seconds long.
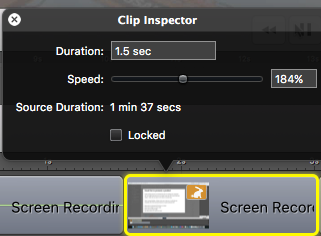 Add clips in order they appear in script
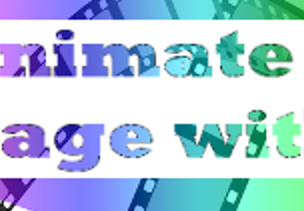
 Yesterday I created a post about animated GIFs. On this page, 7 different social media are used to promote the blog post about