What are Pinterest pins?
 Pinterest pins are visual bookmarks. They are pictures that you add to boards on the Pinterest website. Each pin links back to the website from which it came.
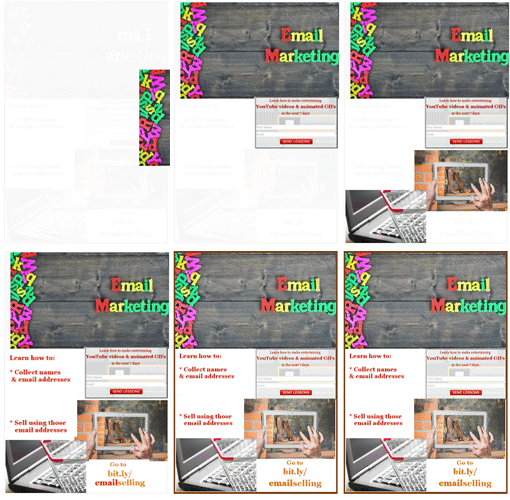
The animated GIF above illustrates how a Pinterest pin is created. That pin can be found on a web page called Value-added Email Marketing to Sell Online. If you find that pin on the Pinterest website and click on it, you will be taken to the Value Added Email website.
Characteristics of good Pinterest pins
- Eye catching. You most likely would like people to add your pins to their web pages. So, it should have visual appeal.
- 600 pixels wide. It is a good idea to make you pins exactly 600 pixels wide so that they are the same width as other pins on the Pinterest website.
- Maximum 1900 pixels high. The maximum allowable height of a pin is 1900 pixels. Note that it is a good idea to make a pin long enough so that the viewer has to scroll down a bit. It gets them more involved.
- Use a high quality photo editor. I use GIMP.
- Use a minimum amount of text. Say what you need to say and say no more.
How to make a Pinterest pin in 4 steps
 The above animated GIF takes 10 seconds to illustrate how to make an effective Pinterest pin. Let me expand that a little to explain what is happening.
I’m using social media to try to get people to my Email Marketing blog post. The half-life of a Pinterest pin is 1600 times longer than a Facebook post. It can be sending traffic to your website MONTHS after it was published. Keep that in mind while you are deciding how to make a particular pin.
1. Decide upon your main goal
My main goal for the example pin is to get people to a particular web post.
2. Decide what must be on the pin
My pin must show what are the benefits of going to the Email Marketing web page: learning how to
a. Collect visitors names & email addresses.
b. Sell things using that data.
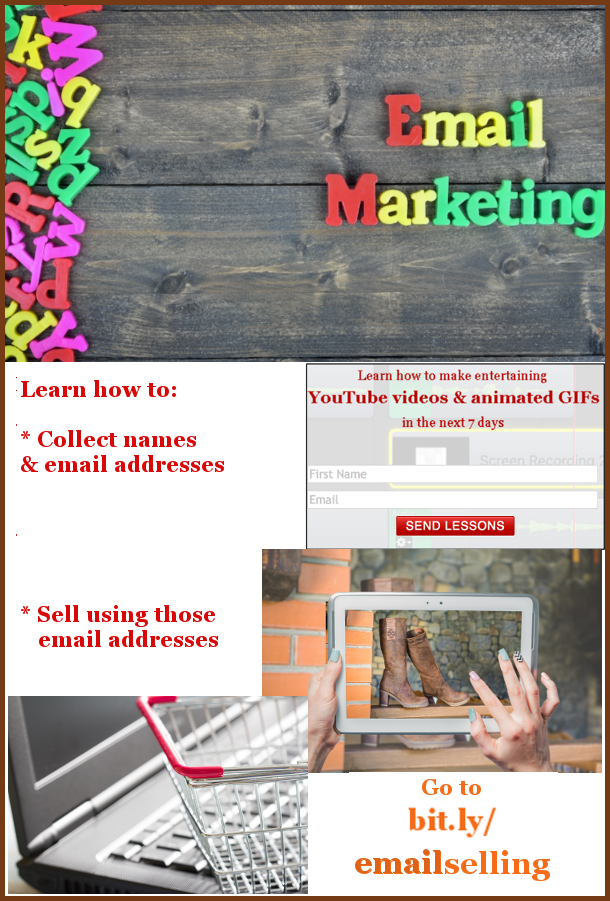
Look at the pin below to see how I did that using the minimum number of words. (Notice how the words are surrounded with lots of white space.)
I had to tell people to go to a particular web page. In order to minimize the number of words, I used Bitly to shorten the URL from http://freewebdesign.club/value-added-email-marketing/ to bit.ly/emailselling. Not only is it shorter but it is easy to remember.
The form that collected the name & email had to be there as well as some other pictures that helped to tell the story.
3. Collect pictures
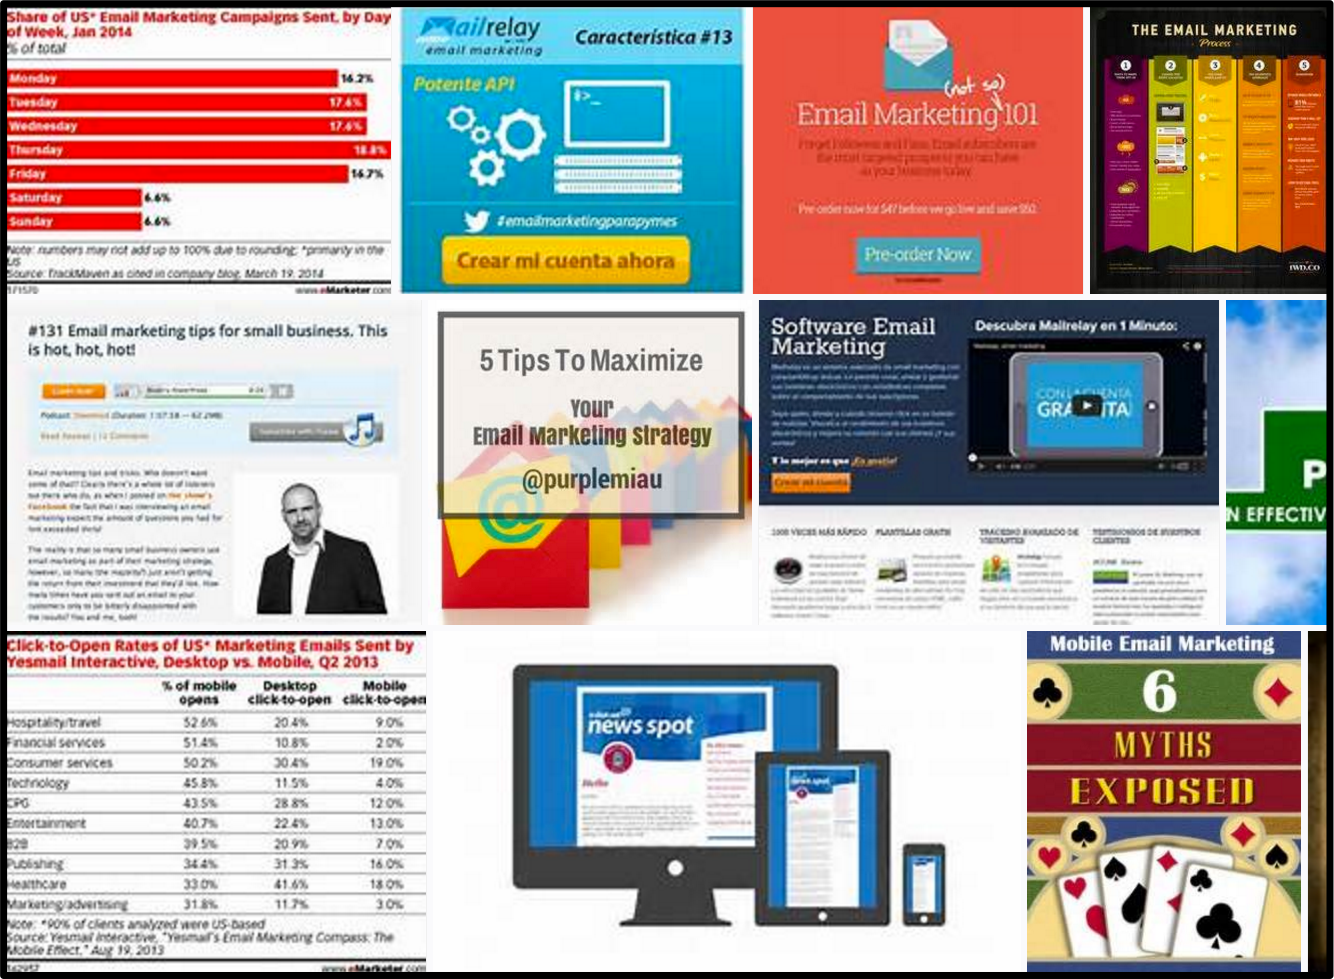
 I performed a web search for “pinterest pins email marketing”. The picture on the right shows what I found.
I want people to select my pin when there are many other email marketing pins from which to choose. So, seeing those pins would help me with my creative processes. I want my pin to have more eye appeal than any of the others.
There are a number of websites where you can find free pictures. One of them can be found at bit.ly/nocostimages. It has free images, paid images and paid videos.
When I want pictures that make a Pinterest pin stand out, I always pay for mine. To find the main picture in the pin below, I went to a paid picture site and entered “email marketing” in the search box. It gave me hundreds of choices.
I chose the three images that you see in the pin below. I chose those 3 because they were all eye catching.
The top one makes an excellent title picture. The other two represent the idea of selling online using a list of email addresses.
 Peter Enns has been developing websites since 1996. He is a social media blogger and author of a free YouTube tutorial. It’s called 7 Day YouTube and will teach you how to make entertaining videos & animated GIFs.


