Animator for videos

Keynote is the Apple presentation software corresponding to PowerPoint. (All Apple software is free for Mac users.) It can be your animation creator:
♦ Animate your text. In this example,![]() it comes bouncing in beneath your picture.
it comes bouncing in beneath your picture.
♦  Animate a still photo. In this example, the photo spins out of the video.
How to use Keynote in 9 steps
The example below describes the production of an introduction for a credit card fraud video. The Facebook ad in the fraud says that people can get a free trial bottle of Garcinia cambogia.
All they have to do is pay for shipping and handling. IF they look at their credit card statement a few weeks later, they will see that they were charged full price for the supplement. Not only that, but they will be on monthly auto-ship.
1. Open Keynote
2. Select theme
I selected the white theme.
3. Clear off slide
Select everything in slide and press Delete key.
4. Add rulers

5. Change x/y axis to 44 & -22
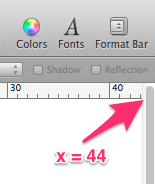 In order to have the proper aspect ratio for your videos, change the x/y axes to 44 & -22.
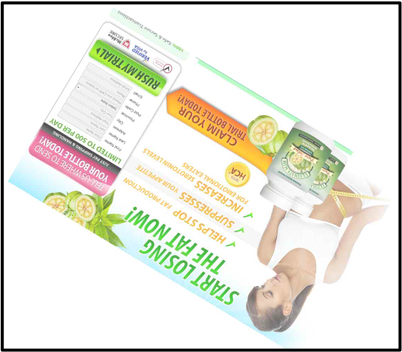
6. Drag an image from Finder to first slide
 After dragging image to the first slide, click the blue Inspector icon and make sure the build-in effect is none.
7. Drag image to text over picture
 I selected the picture in slide 1 and then pressed Cmd C to copy it into my
 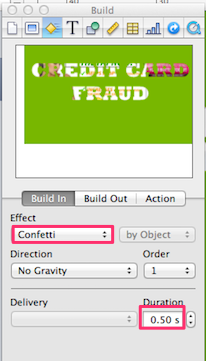 clipboard.
I pressed Cmd V to paste it into slide 2. Then I dragged the image to text picture on top of the original picture. Within the inspector I used the Confetti effect for 0.5 seconds.
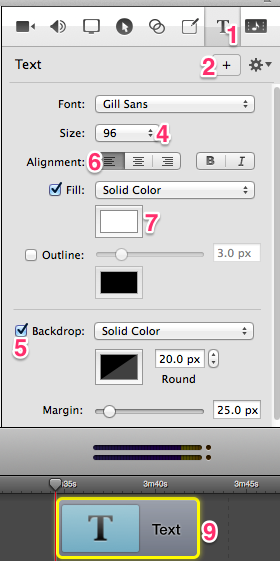
8. Add moving text
![]() At the end of the video you saw how it says freewebdesign.club/. To create that text, I
At the end of the video you saw how it says freewebdesign.club/. To create that text, I
- Clicked on the Text icon,
 Changed it to bold,
- Selected individual words,
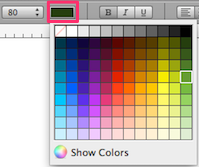
- Clicked on the color icon and
- Selected a color from the menu that showed up.
In this example it has the fly-in effect going from right to left for a duration of 5 seconds.
9. Hit Play button
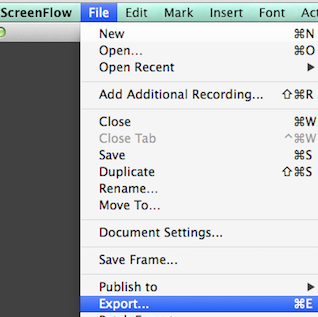
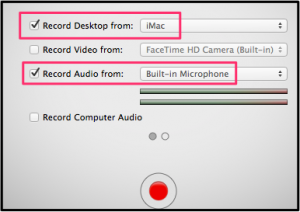
Set ScreenFlow to record and click the Keynote Play button
Practice
Using Keynote is an important part of YouTube video production. Spend lots of time selecting an image in a slide and then trying different Effects for different times. One at a time, select different images on a single slide and then play around with the order drop-down box. Experiment with different Actions.
ScreenFlow features added
 Note that besides using Keynote, some ScreenFlow features were added to the video:
- Rectangles drawn around words
- Add closed captioning.
- Free music was added and softened during speaking parts
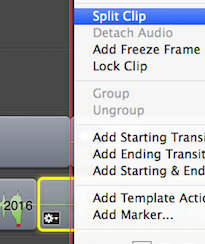
- Freeze frame to lengthen video clips

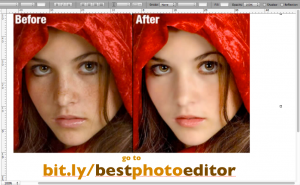
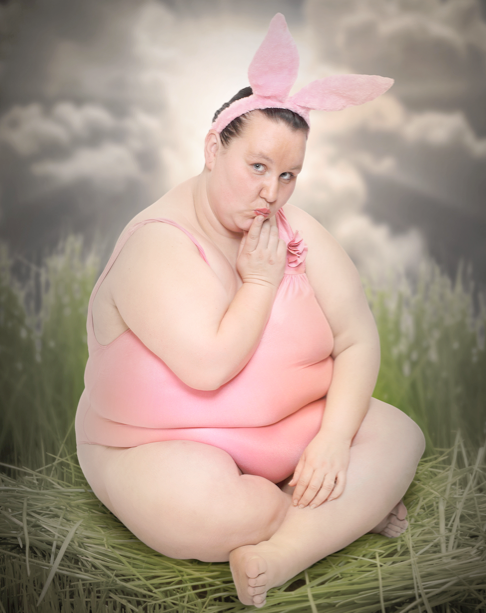 The photo of the obese woman grabs people’s attention. It is a good place to display moving text using
 Peter Enns has been developing websites since 1996. He is a social media blogger and author of the free YouTube video-creation tutorial called

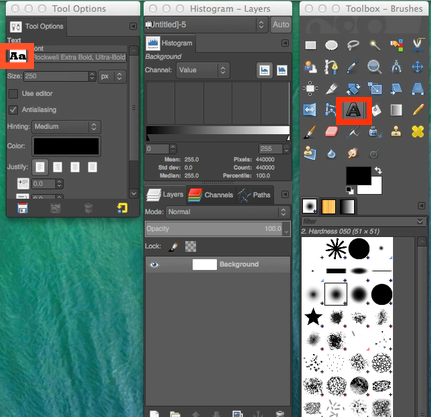 Look at fonts in Tool Option panel. Click on a thick one to select it.
 Right-click again in the Layers panel and click Merge Down. (This allows you to erase. Where the checkers appear beneath the picture, a transparent area has been created.)
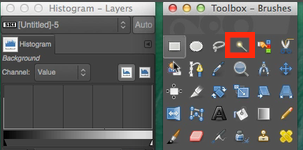 Click the Fuzzy Select Tool.

 Copy & paste audio recording into non-audio video
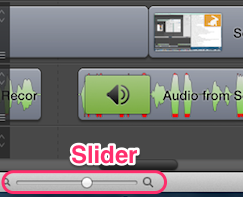 Adjust the speed with the Clip Inspector or else use the Slider to make sure video clip corresponds optimally to each sound bite.
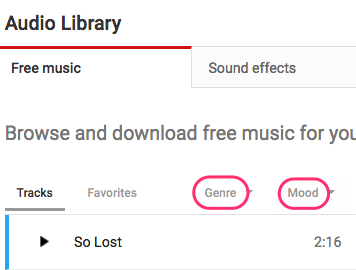 Click on the help button at the bottom of your YouTube dashboard
 When you find the selection you want, download it into your download folder using the down arrow. (If the line has an icon of a man, you must credit the person in your video description.)
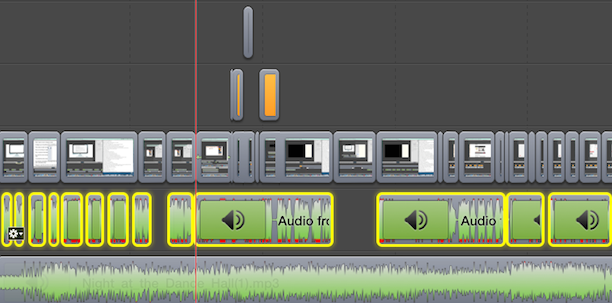 Highlight sounds that are to remain loud
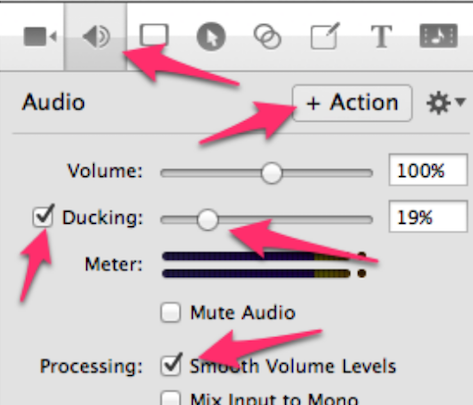 Click Action > OK
 The picture on the right is used to brand this page. It is used in each of the 7 social media posts below.

 You might want to use an arrow, a box or some other shapes when explaining things in a video. Watch the above YouTube video to see what I mean. That solid shape can do lots to drive home a point.
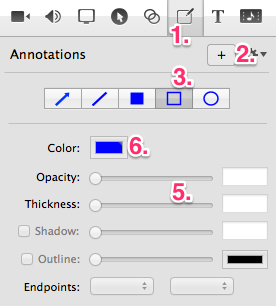

 The Trancappuccino website has a video entitled
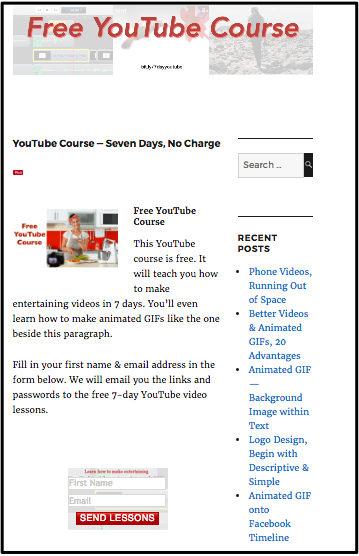
 3. Using

 From time to time you may notice minor changes that should be made to a YouTube video that has already been uploaded. This blog post explains how to upload video with a minimum amount of effort.
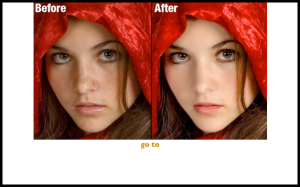
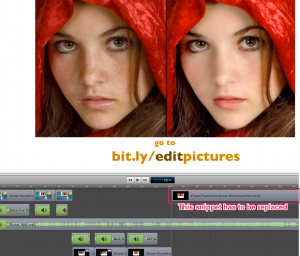
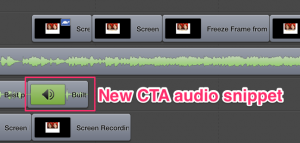 Remove the obsolete CTA from the ScreenFlow timeline and replace it with the new sound bite.
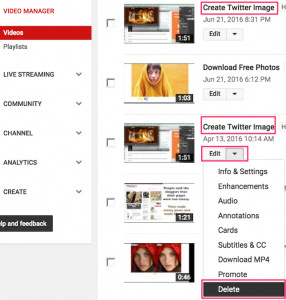
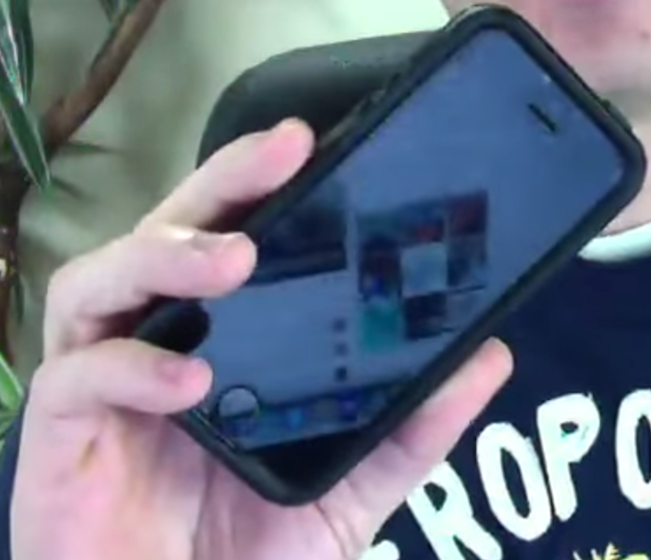
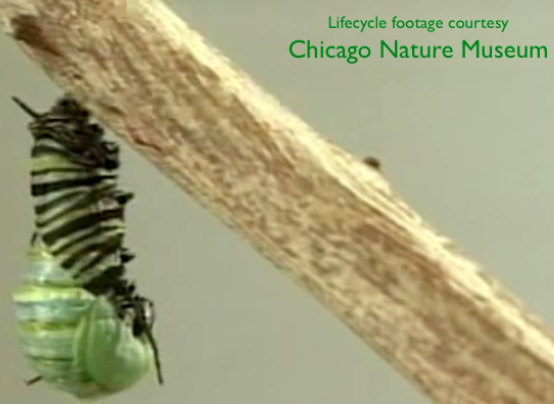 While video editing, you may want to add text to your video. In the example on the right, the video creator wanted to give credit for the source of the footage. To do this, he added a