Change a picture to text

Suppose you were going to design a pamphlet for a ski resort. Using the GIMP image to text system, you can display the text as a picture of the ski hill.
Image to text in 21 steps
- Open GIMP
- Open a new file with a white background.
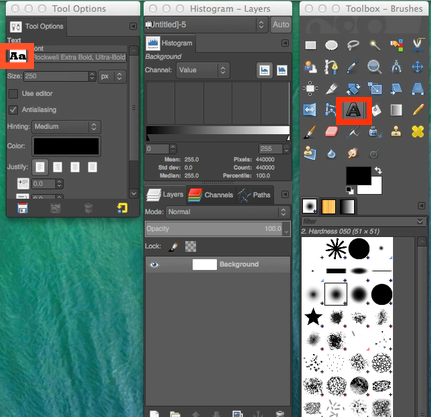
- Click on text icon in toolbox.
 Look at fonts in Tool Option panel. Click on a thick one to select it.
- Key in word in black text
- Enlarge it but make sure some white space is around it.
- Crop it
- Right-click in the Layers panel and select New Layer
- Make sure you select Transparency and click OK
 Right-click again in the Layers panel and click Merge Down. (This allows you to erase. Where the checkers appear beneath the picture, a transparent area has been created.)
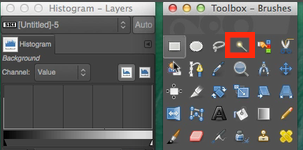
 Click the Fuzzy Select Tool.
- As you click on each letter and then press the Delete key, the black letter will disappear and become transparent.
 Download the background photo. Make sure the width matches the width of the text.
- Click on the text image and press Cmd C to copy it into your clipboard.
- Press Cmd V in your background picture and move the text to the ideal position.
- Click on the background picture so that your text is anchored.
- Select a rectangle around the text. Make sure you have enough white space.
- Click Image > Crop to Selection.
- Save your new image with a descriptive name.
- Export it as a PNG file into your Pictures folder.
- Go to your Pictures folder and double click on the name of your new image.
It is ready for you to use in your promotion.
If you had trouble following those 21 steps, watch the YouTube video again.
Image to text with Photoshop
Here’s how to change image to text to a photo with Photoshop.

