Create animated e cards in 22 steps
To create these 3D video e cards, you start with GIMP. Make a solid green rectangle for the background.
Make a large black 42. Create a new transparent layer. Leave the visible background alone; it helps you to visualize what you are doing.

-
- Resize the rose (Image > Scale image). Copy it into clipboard and paste it onto the top of the number 4. Keep resizing until it is the ideal size.
- Keep keying in Cmd C and dragging the roses until the entire number is covered in roses.
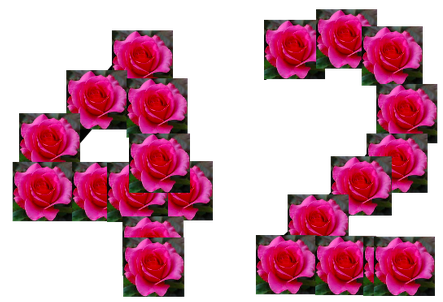
- Delete the solid background layer, save and export your rose number as a PNG file.
- Open up Keynote.
- Drag the green rectangle onto the first frame of the e cards. Have a large white space as shown in the video. The “42” will be zooming out from the green space partially into the white space. This will give it a 3 dimensional effect.
 Save your green background into your clipboard and paste it into 2 more slides. When you paste an object into a new screen, the location (x and y axes) will be identical to the original location.
- Go back to the first slide and drag the “42” from Finder into the slide. Use the picture below as a placement guide.
- A shortcoming of Keynote is that you can zoom out to no more than 200%. However, you can zoom in much more than that. So, click on your inspector’s action tab and scale down to 10%. (Later you will play this backwards in ScreenFlow.)
- Copy the “42” and paste it onto slide #2. Change the action to “none”.
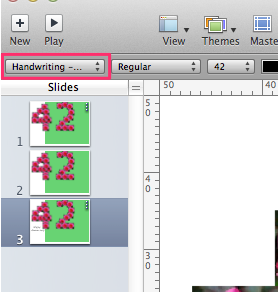
- Copy the “42” and paste it onto slide #3. Click on the text icon at the top of the page. Change the text style to “handwriting”. Key “Happy” into the text box.
- Copy and paste another copy of the text box. Change the word to “Anniversary”.
- Build in the word “happy” with the convergence effect for half a second. Build in the word “anniversary” with the convergence effect for three quarters of a second.
- Click slide #1 in the left-hand column. Open up ScreenFlow and start recording. Click your Keynote play button and play the entire set of slides several times until you are pleased with the timing.
- Change the size of the screen to 1280 x 720. Change the size of the video to fit the screen. (If you do not understand these ScreenFlow instructions, click the YouTube tabs to find a tutorial.)
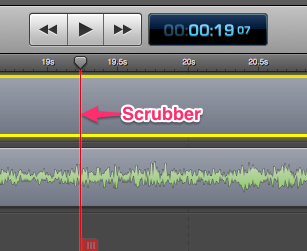 This is the part where you will reverse your zooming effect so that the tiny “42” becomes large and off the screen. Find the part where the “42” zooms in. Practice dragging your
scrubber backwards so that the tiny “42” zooms out. After you have this
exercise running smoothly, record your actions with ScreenFlow and save
it.- Change the size of your video screen to 1280 x 720 and resize the video so it fits onto the screen like what you see in the picture above.
- Isolate the “42” zooming out video clip. Copy it into your clipboard. Paste it into your other video. Continue editing it until it looks like the inner part of the video above.
- Save it to YouTube.
- Wait an hour or so until YouTube finishes all of the formatting. Right click on the YouTube video and click on Copy Embed Code.
- Paste your code into the HTML code of your web page. The video loop blog post will tell you how to modify your code so that it keeps repeating.


Earn a percentage of the selling price for every book sold.
E cards — cool or corny?
A Gifts and Dec blog post asks
The question this column begs, however, is the relevancy of snail mail today. Since everyone is now on their computers and smartphones, is the meme equivalent to a handmade card? How does this bode for retailers? Read more.

 Peter Enns has been developing websites since 1996. He is a social media blogger and author of the free YouTube video-creation tutorial called 7 Day YouTube.