
 A serious bug
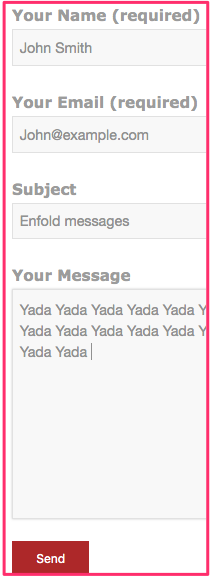
Enfold is by far my favourite WordPress theme. However, I have found one serious bug. It’s in the Enfold contact page. When people try to contact us, they get a message saying the email was sent. However, it does not come to us.
I went online and many other people are saying the same thing.
The problem most likely stems from the fact that mail service providers apply stricter rules year by year. This is to protect users from mail abuses like spam and spoofing.
The Enfold contact page solution
I found the solution to be Contact Form 7. This WordPress form can manage multiple forms and allow you to customize your forms.
The steps below tell you how to get a Contact Form 7 onto your page.
1. Add new WordPress plugin
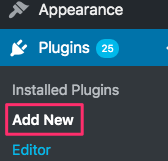 Go into your website in edit view. In the black column on the left-hand side, go down to Plugins and click Add New.
In the search box enter Contact Form 7. When it shows up, click on Install Now and the Activate.
This plugin will now be activated for any of the web pages in your website. You will need to add a shortcode on any page that requires a contact form.
2. Add Contact Form 1 shortcode to page
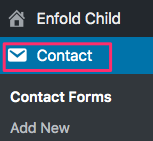 Look at that black column on the left-hand side again. There is a new word, Contact. Click it and then click on Contact Forms. Click on Contact Form 1.
At the top of your new page you will find a shortcode. Click within the blue bar and then Cmd C to copy it into your ![]() clipboard.
clipboard.
3. Paste code into website
Decide precisely where you want the Enfold contact form to display. Go to that page in edit view.
a. Drag a 1/1 layout element to the place on the form where you want the form to go.
b. Drag a Code Block content element into the 1/1 layout element.

c. Click on the code block. Cmd V to paste the code into the first block. Click Save.
4. Add your email address
a. Click Contact in the black left-hand column again.
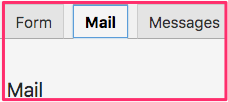 b. Click the Mail tab.
c. In the To box, add the email address to which the form should be sent. That will likely be your own email address.
d. Click the blue Save button.
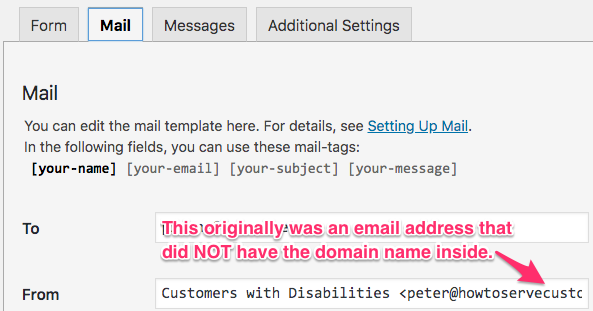 e. I had to do lots of troubleshooting to get my forms to send. Eventually, I found out that the email address in the From section under the Mail tab had to have form’s website domain name in it.
My form was in howtoservecustomerswithdisabilities.com. I solved my problem by having this email address in the From box: peter@howtoservecustomerswithdisabilities.com.
With my web host, I had set up an email forwarding from that address to my regular email address.
5. Set up Contact Received messages
When you click on the Messages tab, you see a list of messages you will see in various situations. The default messages are things such as
- Thank you for your message. It has been sent.
- One or more fields have an error. Please check and try again.
- This field is required.
- This telephone number is invalid.
If you want any of these changed, do so and click the blue Save button.
Test your form
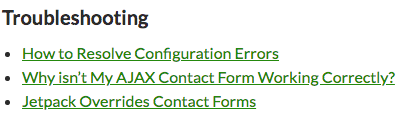 Test your form immediately. If you do not get a test email, go to the troubleshooting section at the bottom of the page and get a solution.
YouTube Video
Related page
How to Set Up Contact Form 7 (for Beginners)
