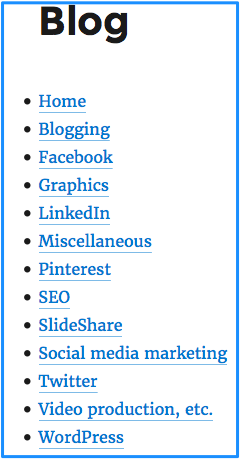
Unwieldy WordPress blog menu?
Your WordPress blog can get so many posts that the menu could start going off the side and end of the page. So, you may not be able to use the menu-creating system that seems most intuitive. You must use some pages as opposed to all posts. Each menu must be a page.
Set up your WordPress blog menu in 4 steps:
 1. Getting started
Start by listing the most important categories you have in your blog posts. You may want to have a miscellaneous category for the undecided ones.
List these categories on a WordPress PAGE and save it.
2. Create sub-menus

Create a new page for each category. Within each page create a list giving a very brief description of each post.
To the right is the list of all posts relating to graphics. Hyperlink each description to the corresponding blog post.
3. Linking menu page to sub-menus
Link each description from the main menu to the corresponding sub-menu.
4. Creating main horizontal menu
![]()
Besides the WordPress blog, you most likely have other pages on your website. Similar to the blog menu, each of the other items in the horizontal menu will link to all pages in that category. Notice that these are pages as opposed to posts.

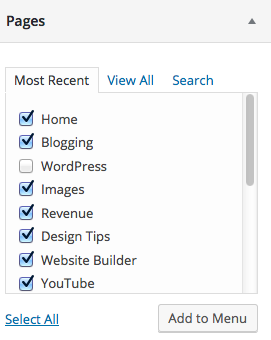
To get started, go to your WordPress dashboard > appearance > menus. Look at your list of pages and check off the ones you want in your horizontal menu. Click the add to menu button.
Play around with your menu, make any changes you want and click the add to menu button.
Click the blue Save Menu button.
Check your WordPress blog menu to make sure that everything is working properly.

