Create a professional-looking new website in 10 steps
 Skim over the coloured text until you find a topic for which you need to know more. Then read the black text and maybe click on the hyperlinks.
Before you do, please note the special treatment given to anyone who is here because of Fiver.com. We will create a WordPress website for them with two functioning pages and instructions for making more pages.
In order to get that WordPress website, you will need to:
Buy a domain name (commonly around $10) from WhoIs.com.
Sign up to use LiquidNet as a web host ($35/year).
 1. Find a web host that supports WordPress
Read my FAQ about web hosts.
2. Find the ideal domain and business name
 Go to the Google Trends to find the ideal long-tail keywords for your business and domain names. Then read the domain name FAQ for tips on how to get the best names.
3. Move domain name to web host
Once you have registered a domain name, you must have it pointing to your web host. This FAQ explains how to make that happen.
4. Installing WordPress
To learn how to install WordPress including the home page & the menus, go to the Install WordPress FAQ. For just about any new website, you should use WordPress. It’s free and absolutely full of features that many CMSs don’t have.5. WordPress Plugins
WordPress plugins are smaller apps that can be uploaded to extend the functionality of your WordPress site. There are over 49,000 from which to choose. Please read the plugin blog post to learn more including adding forms to your web pages.
6. Start creating some pages

Start creating some new WordPress pages representing your company. These will be pages as opposed to posts. You will be using posts for your blog.
Read the 3 characteristics of webpage blog post.
7. Add the right pictures
If you have the right pictures on your pages, people will stay there longer and get more emotionally involved. Find out why.
 8. Begin blogging
Go to the Blogging 101 web post and begin your WordPress blog.
9. Make your menus
Make the menus for all of the pages and posts you presently have. Each time you create another post or page, you will add it to a menu.
10. Begin adding social media
 Learning about social media can be overwhelming. So, start by learning one, getting good at it and then going on to the next one.
I recommend starting with a Facebook page. Study that post thoroughly.
 At the beginning of each blog, each Facebook page post and the beginning of most social media posts, you should grab their attention with an amazing image.
Read the blog post about how I get amazing stock photos for my social media posts. Make sure you  scroll down to the section about 20 steps for downloading Adobe photos.
After you have a few Facebook posts that link to a blog post, start learning your next social medium. Below are the next 6 social media I suggest you learn. They are listed in what I consider the order of importance for my situation.
Note that virtually every blog I create will have a link to it from Twitter, Google Plus and Facebook as a minimum. If it is an especially good blog post, I will add more social media.
Monetize your blog
See this article from the Eugene Mota website: Top 5 Techniques for Monetizing Your Blog.
Notes on Pinterest
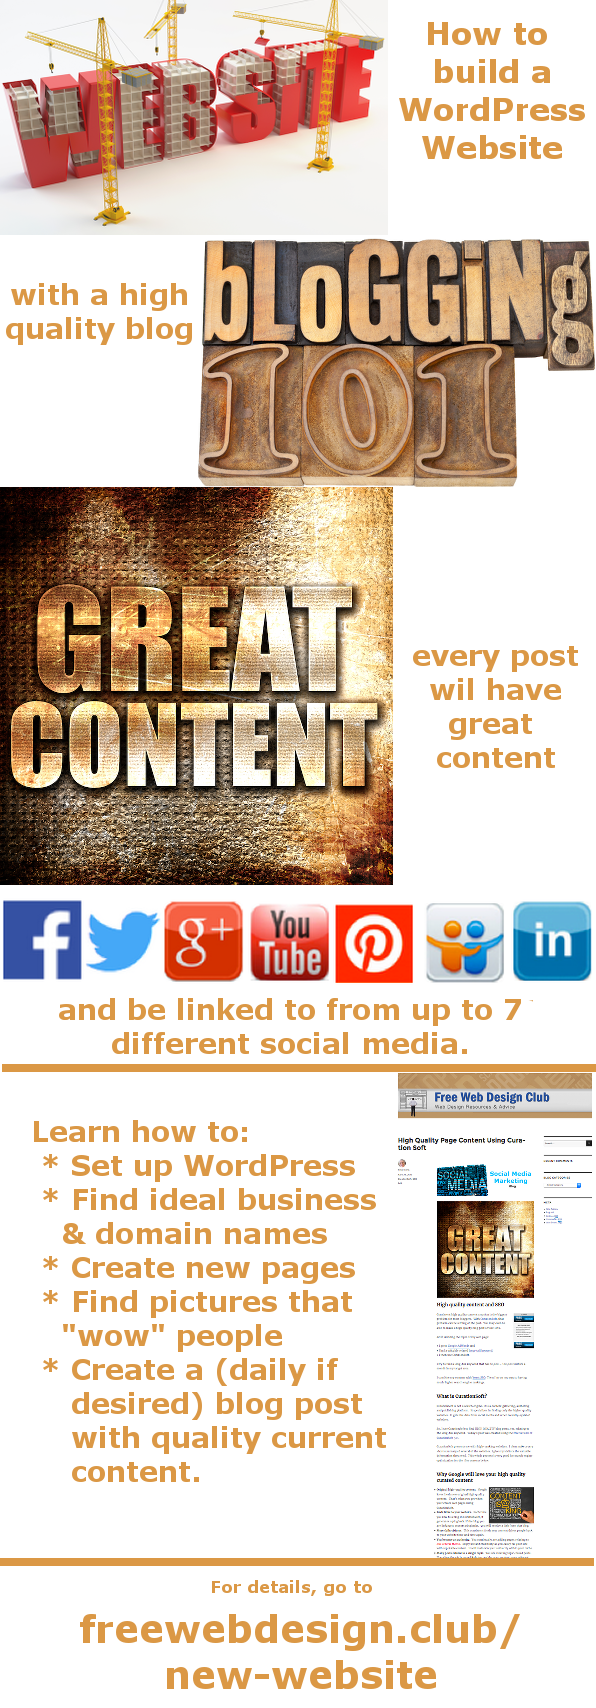
The above picture is a Pinterest pin. It links to this blog post.
Notes on YouTube
YouTube is the second largest search engine in the world. Having high quality YouTube videos will help you with brand awareness. Read 10 reasons why YouTube is important for your business.
So, make sure someone in your organization can make YouTube videos. Go through the tutorial on making YouTube videos.
Learn about ScreenFlow. You will use Keynote to help make things animate in your videos.
Here are lots of links to blog posts about video.
Commit yourself to making a video a day for 30 days. Soon you will be able to make YouTube videos like the one below.

