ScreenFlow screen capture software
I n this lesson you will take the animation from a previous lesson. Then you will open your ScreenFlow video editing software to record whatever you have on your Mac screen. Note that the animated GIF on the right was created with ScreenFlow and Keynote.
Then you will edit it, add music and upload your creation as a YouTube video. The final video should turn out something like the one below.
1. First slide in Keynote
- Open up your Keynote animation
- Highlight first slide
2. Configure and start ScreenFlow
-
- Open up ScreenFlow
- Click the camera icon
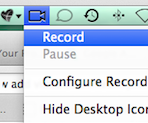
- Open Configure Recording
- Make sure Record Desktop from iMac and Record Computer Audio are checked
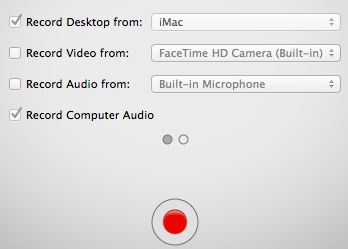
- Highlight and click Record
- After you do, black dot appears in the camera icon to indicate recording
- Once ScreenFlow countdown at #1, click the Keynote Play button
- (When it first opens up, Keynote effects might be a bit choppy. If so, press Esc key and press Play again)
- Each time you want a new animation to play, click your mouse
- Pay special attention to timing as pet memorial gardens fade in
3. Stop ScreenFlow and save
- Last slide with the contact information on the screen for over 20 seconds
- Give visitor time to copy down website URL
- So, leave the ScreenFlow software running for over 20 seconds and then click camera icon.
- ScreenFlow stops recording and rough video opens up
- Save with a descriptive name and you’ll be ready for video editing
4. Size the canvas
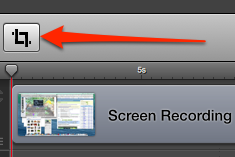
- Click on ScreenFlow sizing icon to choose the size of YouTube video
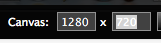
- Set it to 1920 x 1080 pixels
- Click Apply

5. Scale video to canvas
-
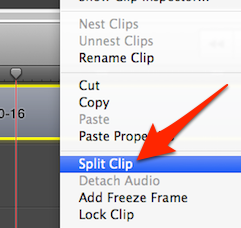
Click Play button and pause immediately after the animation starts
- Right-click on timeline (at bottom) and click Split Clip
- Left portion of the clip will be highlighted
- Press Delete key to eliminate it
- Click on the picture of animation
- Drag and drop it into middle of canvas
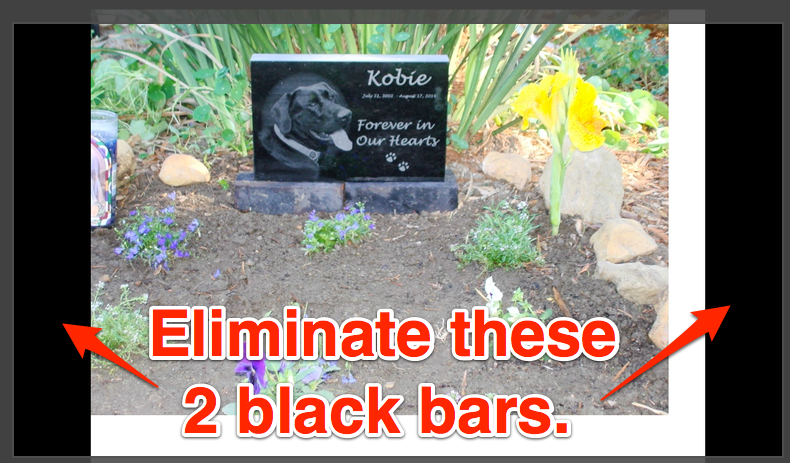
- Begin video editing by eliminating those 2 black bars
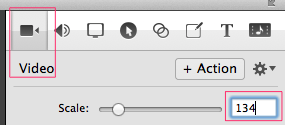
Highlight the screen recording clip at the bottom
- Make sure Video Properties icon has been selected. Change the scale size to, say, 134 and press your Tab key.
- Drag and drop your video clip so that it is centered properly
- Want video to be large enough to eliminate those 2 black
bars
- However, you do not want it to be larger than is necessary
- So, it may be necessary to adjust the scale a bit.
ScreenFlow Promotional Videos
Watch a few videos about tricks for using ScreenFlow.
Previous page Go to next page
 Canvas: That part of your computer screen that will display what shows up in your video.