
Manipulate iPhone videos with ScreenFlow
 In this tutorial you will learn how to transfer iPhone videos to a Mac. Then you will be able to edit them with ScreenFlow.
Transfer iPhone videos in 9 steps
- On your iPhone, go to Settings > Photos > Transfer to Mac.
- Switch from Automatic to Keep Originals.
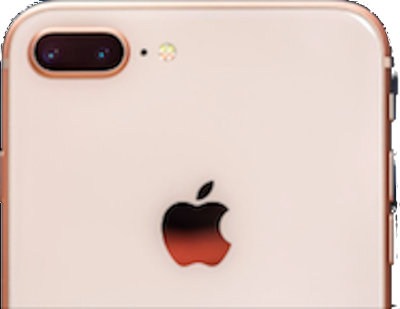
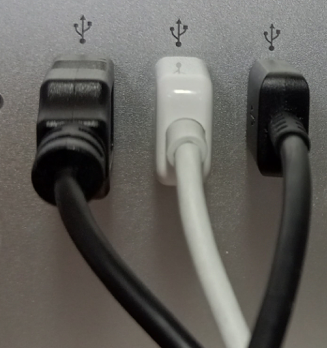
- Using an Apple cable, plug your iPhone into the back of your Mac.
- On your Mac, open up the Image Capture app.
- If you are prompted to unlock your iPhone, do so.
 If Photos doesn’t automatically launch, tap on the icon to open
  it.
it.- All of your iPhone photos & videos will show up in a panel on your computer Desktop.
- Drag and drop the videos you want onto your computer screen.
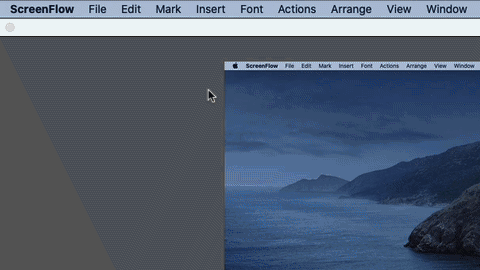
- Drag the video file(s) from the computer screen and drop them onto a ScreenFlow timeline.
- Start editing them into a video.
Create a video for YouTube or Rumble
Go to this web page for ideas on how to create a decent video using ScreenFlow.
 After you finish making your video, it is simple to publish it to YouTube. As soon as you get your YouTube account, follow the simple steps in the animated GIF to the right.
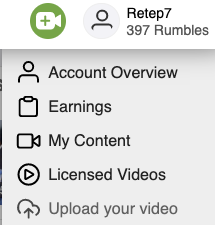 To publish to Rumble, make your video into an MP4 file. Drag and drop that MP4 file into the box you get by clicking on Upload Your Video.
Before you upload it, you should go through the video on ScreenFlow. Make a screenshot of what you want to be displayed when your video is embedded in a web page. Also, decide in advance what your video description will be.
Pages related to iPhone videos
List of several ways to transfer iPh0ne videos to a Mac
YouTube video showing how to transfer iPhone videos to a Mac
Transfer images using Image Capture
Here’s an index with links to multiple pages. Each page gives short, concise instructions about some concept involving video creation.
Go to this index of all
video-creation tutorials.
