
The artwork
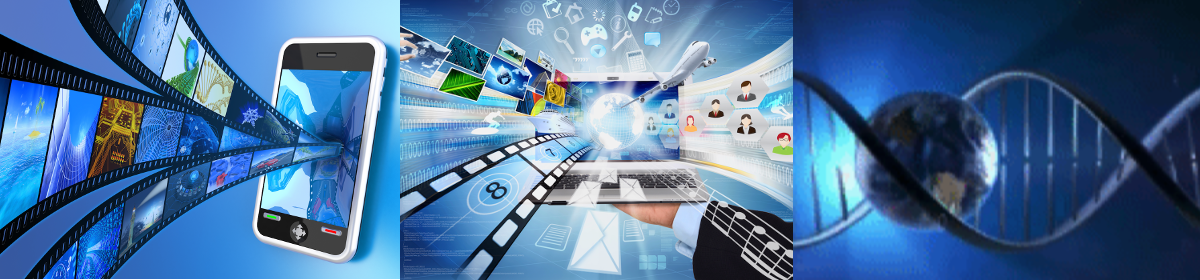
 Most of us are not very good artists. We are dependent upon other people to provide us with something graphic. In the case of the Kelowna Virtual Assistant header, I went to Adobe Stock and bought two pictures relating to virtual assistance. They tell a story very quickly.
The double helix on the right is from a video snippet I got from bit.ly/nocostimages some time ago. I use it in lots of my YouTube videos.
You may not want to pay Adobe Stock $30 USD per month for their 10 photos. In that case you can go to the bit.ly/nocostimages site and search for a related picture.
Then use an image-editing program such as Photoshop or GIMP. I prefer GIMP because it is much cheaper and will do the same work.
 Using GIMP, paste your pictures onto a 1200 x 280 pixel rectangle.
The text
![]() In the Kelowna Virtual Assistant header above, the text is black. However, some of it is over black in the image. This section describes how to make the text show up clearly in such a situation.
In the Kelowna Virtual Assistant header above, the text is black. However, some of it is over black in the image. This section describes how to make the text show up clearly in such a situation.
The width of the Twenty Sixteen header is 1200 pixels. So,
- Click on the header with pictures
- Click on File > New to make a white box this length
- Select the GIMP Text tool
- Click on font style icon
- Scroll up & select Rockwell Extra Bold
- Type the header text into the white box
- Change text size to a reasonable number such as 60 and press Tab
- Use dropdown arrows to get the precise size you want
- Right-click in the layers panel and select Merge Down to make the black text part of the white box
- Right-click in the layers panel and select New Layer > Transparency > OK
- Right-click > Merge Down. (This makes it possible to erase the white and leave transparent area.)
- Rectangle Select tool and draw a rectangle around the text
- Click Image > Crop to Selection
- Click the Erasure tool and erase much of but not all of the white around the letters
- Change the size of the Erasure to 10 pixels to erase the smaller white areas
- Select text & then press Cmd C to copy text into clipboard
- Cmd V to paste text on top of header images
- Drag & drop text to desired location
- Click image away from text to Anchor text onto images
To follow the above points, it would be easier if you follow them while watching the YouTube video below. Hit the Pause button frequently.
YouTube video
Related page
On this website there is non-detailed lesson on how to make a completely different header. Do not go there until you have mastered the lesson on this page. You will need concepts taught here to follow that lesson.
Go to Distorting Picture While Maintaining the Theme.
Main heading
 The wording of your main heading is about as important as your header. Learn much more about making an effective heading at the CoSchedule headline analyzer. You should try to have a score of at least 70.
bit.ly/nocostimages
 The Bitly address, bit.ly/nocostimages is an easy-to-remember web address for the Dreamstime website. Dreamstime has a collection of tens of millions of photos, illustrations, video snippets, etc. The lower quality images are free. The higher quality ones cost money. Dreamstime can be a very good source of free images.
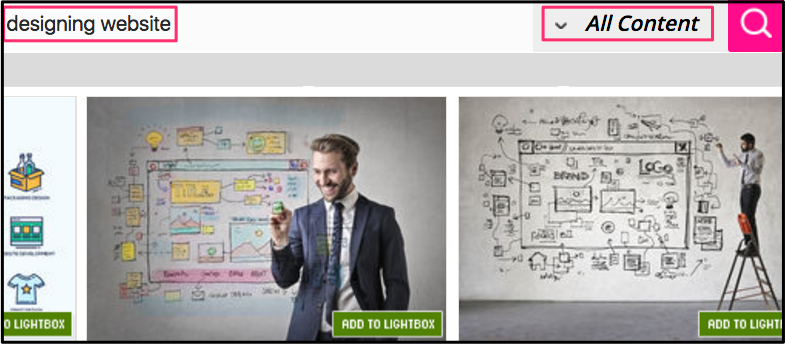
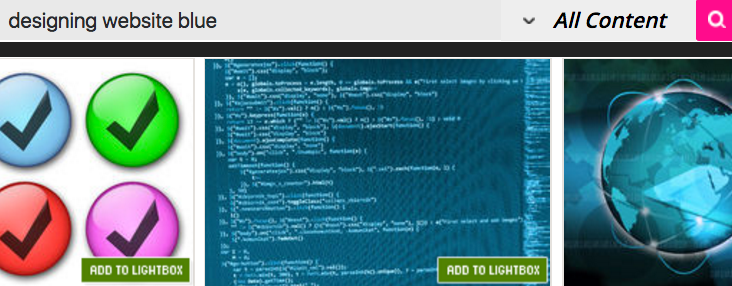 In the above screenshot, someone searched All Content for pictures that represented designing websites. What if your designing websites picture must match the blue colour in your header. Then you would add the word blue to your search term.
GIMP
GIMP is a free open source program. Programmers from all over the world collaborated to make a program similar to Photoshop.
When I downloaded a free version, it somehow came with lots of advertising that took me hours to purge from my system. For that reason, I suggest you go to the PhotoEditorX website, scroll all the way to the bottom and click the Download Now Button.
You can buy it for $47 USD. Not only do you get GIMP, but you get a large number of tutorials that will teach you how to get the most out of GIMP.
