The 3 marketing fundamentals
 This blog post reviews a video by Alex Mandossian about marketing fundamentals. The man has some amazing insight into marketing. Make sure you click the link at the bottom to watch the video.
Alex says that the 3 fundamentals are:
- Message — The message you want to get across.
- Market — To whom do you want that message to get across.
- Media — The more media you have to get the message across, the better.
The bicycle illustration
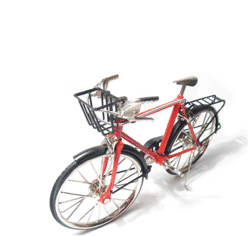 To illustrate his marketing concept, Alex uses a bicycle wheel.
The message is the hub of the wheel because it is the most important fundamental. If the message is unclear, the market audience will never find you. If your message lacks clarity, your marketing will not be able to get the message to your target market.
The media connects the message to the market. (Learn about social media.)
The 3 Cs of your message
Con·cise, adj., expressing or covering much in few words.
The message must be
- Concise,
- Clear and
- Consistent.
It must not lack clarity. If your message is concise, clear and consistent, you can instantly increase the pulling power of all marketing communications. You will make more money with the same amount of effort.
A good message:
- Accelerates the marketing reach.
- Reduces marketing costs.
- Grows marketing engagement.
Digital messages
Digital messages come in many different forms:
 Video. (See free course on making YouTube videos.)
- Audio. E.g., people can listen while walking their dog.
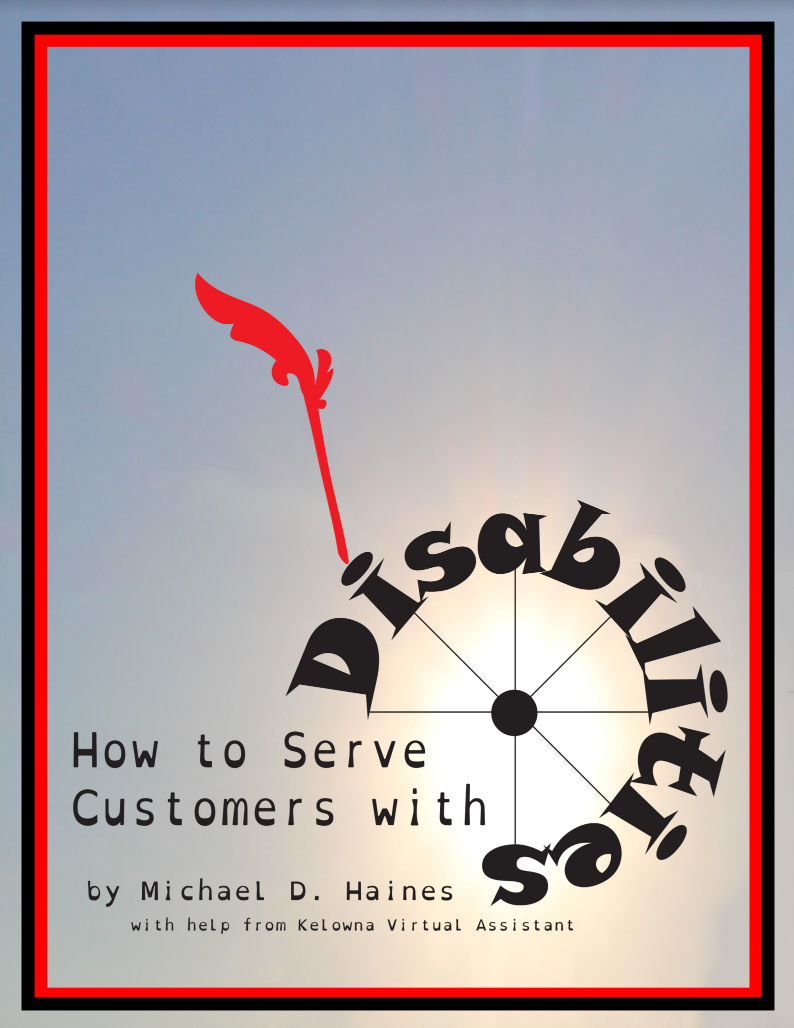
- Pictures. “A picture’s worth a thousand words.” E.g., the picture on the cover of the ebook pictured here helps to explain the subject.
- Movement. Note the movement in the bicycle animated GIF above.
- Engagement.You can ask questions and otherwise get the target market so interested that they will communicate with you.
Watch the video
To watch the complete video, click the play button on this MarketingOnline video.

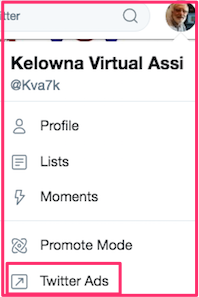
 Log into your own Twitter account
 After you log out, you will see a form where you can set up a new Twitter account
 Go to
Go to 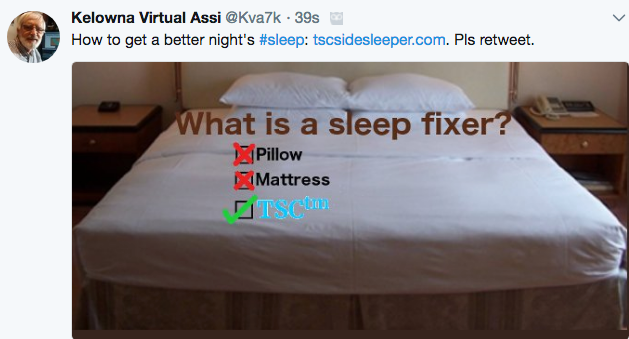
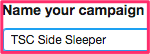 Give advertising campaign a descriptive name.
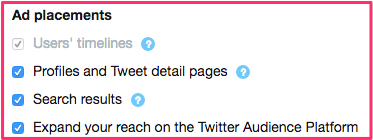 Click the check box in front of the tweet you wish to use in your ad. Decide where you want to place your ad. The search query Tweet is
 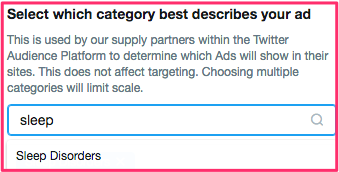 triggered by the user’s desire for information. So, you definitely want to include Search Results. Twitter has a huge list of categories. In this example, I searched for “sleep”. Twitter showed me the closest related category in their list (sleep disorders).
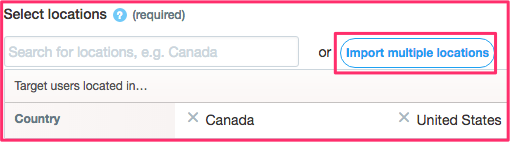 To find your target market more precisely, click Return to Original Campaign Form. For geographical locations, I chose Import Multiple Locations. After I had written the countries on 2 separate lines, I clicked the Add Locations button.
 An evil twin is a hotspot set up by a cybercriminal or hacker. It mimics a legitimate hot spot in just about every way.
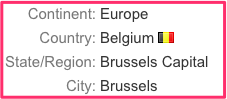 You will see data telling that you are in Belgium (or whichever country you chose). You start accessing the Internet. You download & upload data to your heart’s content. The evil twin cannot find any of your data.
 Home renovation chain Rona replaced its printed flyers with expanded digital flyers. As a result, their sales doubled at its stores across Canada. This was in spite of the fact that they had scrapped the printed flyer during a nationwide test one week in February.
 Some stores display their weekly flyer prominently on their own company website. However, some stores keep them on websites that display flyers from many different stores.
 I opened
 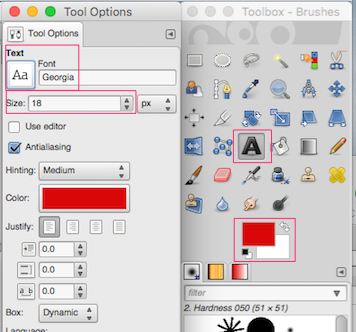 Click font icon to change font to Georgia or Georgia bold


 Peter Enns has been developing websites since 1996. He is a social media blogger and author of a free YouTube tutorial. It’s called


 The body has a power word (you need to know).
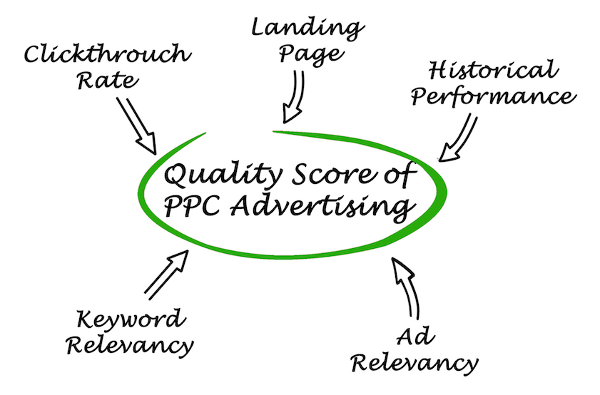 The Bing Ads Quality Score is a number from 1 to 10 that shows how competitive your ads are. Bing measures web page visitors’ search queries and other input to find the relavance of your
 Social media marketing is the process of gaining visitors to a website using social media sites. It often revolves around creating content such as a blog. The idea it to advance your agenda by having people link to your blog from social media.
 Once you have downloaded Jing, double click Jing in the applications folder.
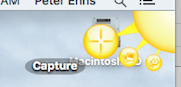 There will be a sun icon in the extreme upper right-hand corner of your screen. Hover over it. Click on the circle with the plus sign.
 browsers.)